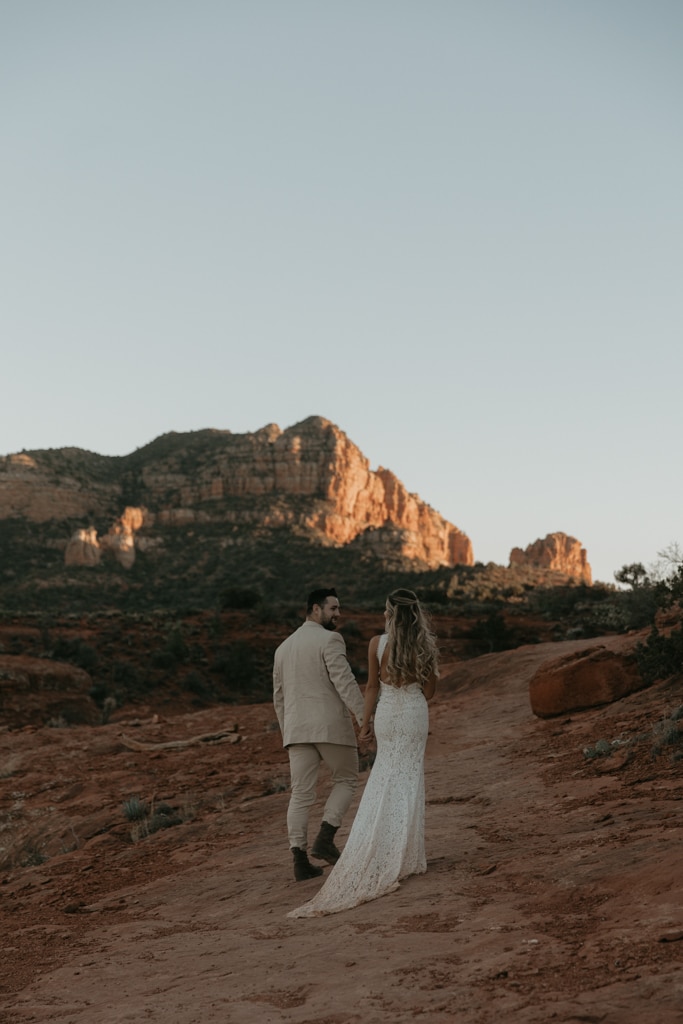
The epitome of romantic photos for an adventure elopement is stargazing photos, and most people don’t even know they’re an option. I think fairytale romance is sitting under the magic of the night sky watching for shooting stars, tracing constellations and chasing the milky way. There’s nothing like it, and it’s absolutely possible to photograph this experience for one-of-a-kind elopement photos.

What is Astrophotography?
Photos of the night sky are always beautiful, no matter where in the world they’re taken from. But a night sky wedding? Now that’s incredible.
Astrophotography is specifically the practice of photography with astronomy and the night sky involved. They are a little different than typical wedding photos, both in the way you’re set up before the photo, and the camera settings to achieve them. When it comes to wedding and elopement photos, it essentially means taking wedding photos where you are able to capture the stargazing experience as well.
The Experience: Stargazing Wedding Photos
For night sky wedding photos, the setup does take a little longer than your typical portraits, so you want to plan for them in advance.
A clear night on a new moon will allow you the most ideal time to see as many stars as possible. If you want to feel like you’re under a blanket of diamonds, plan for a new moon.
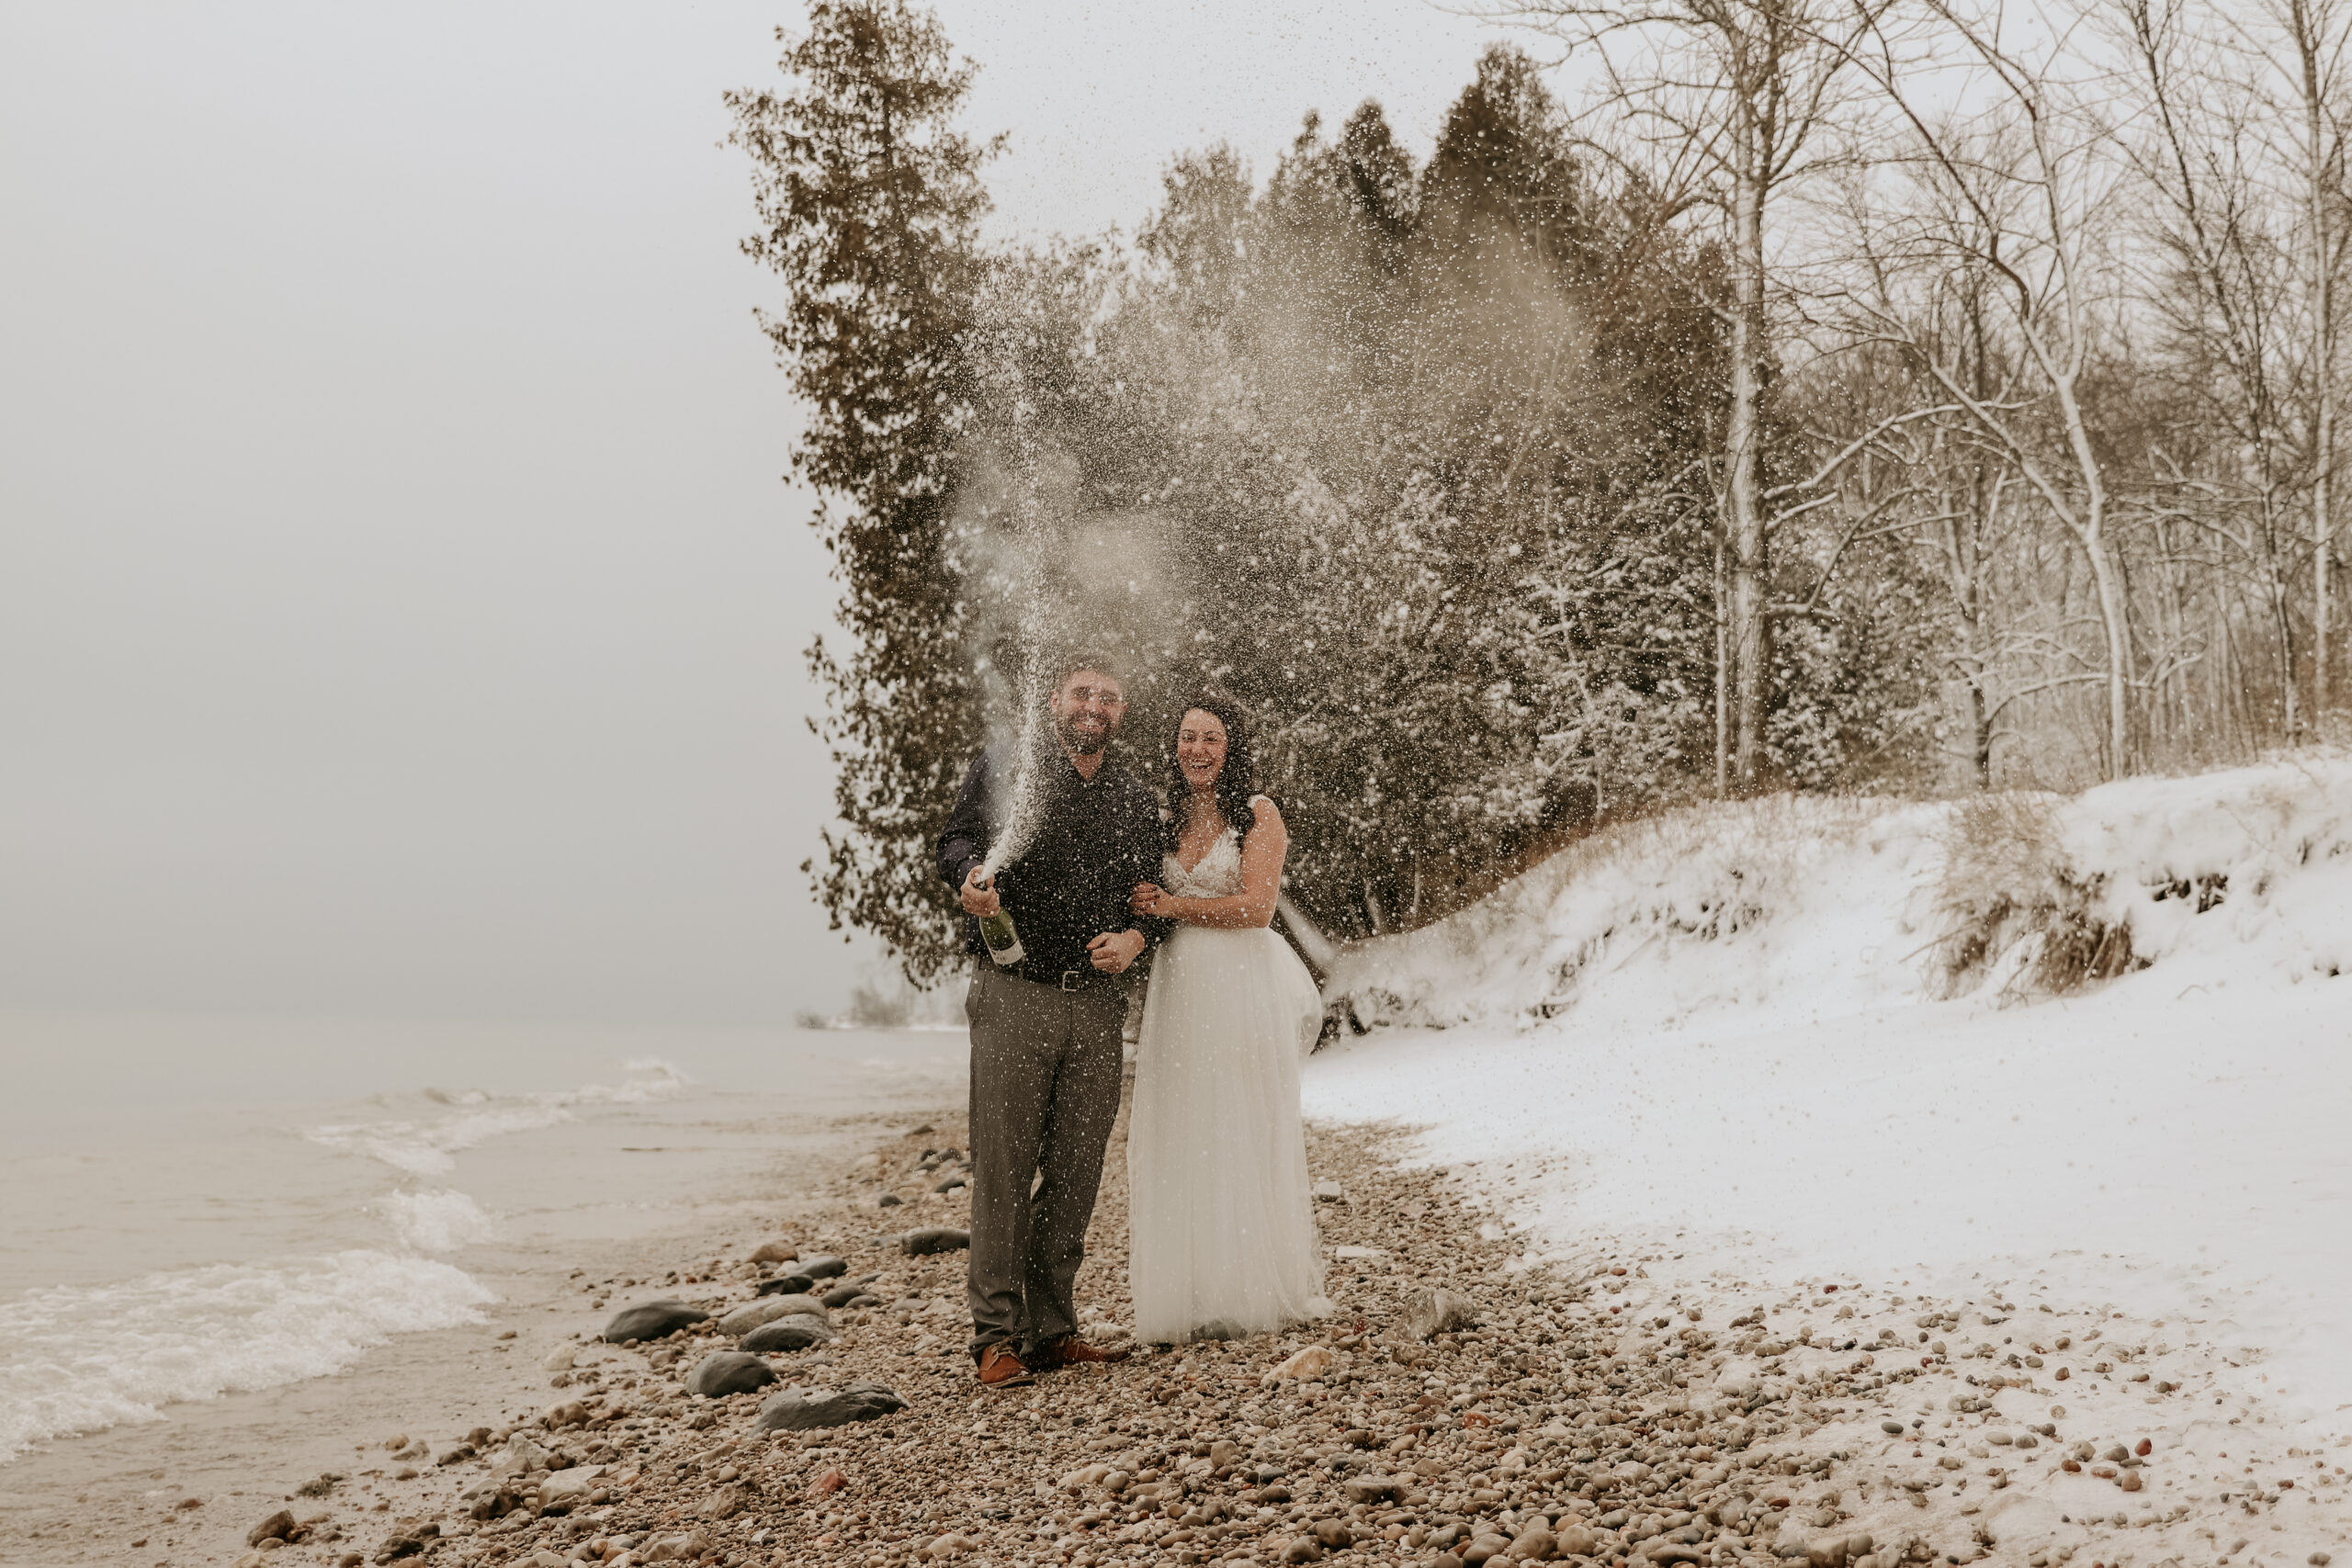
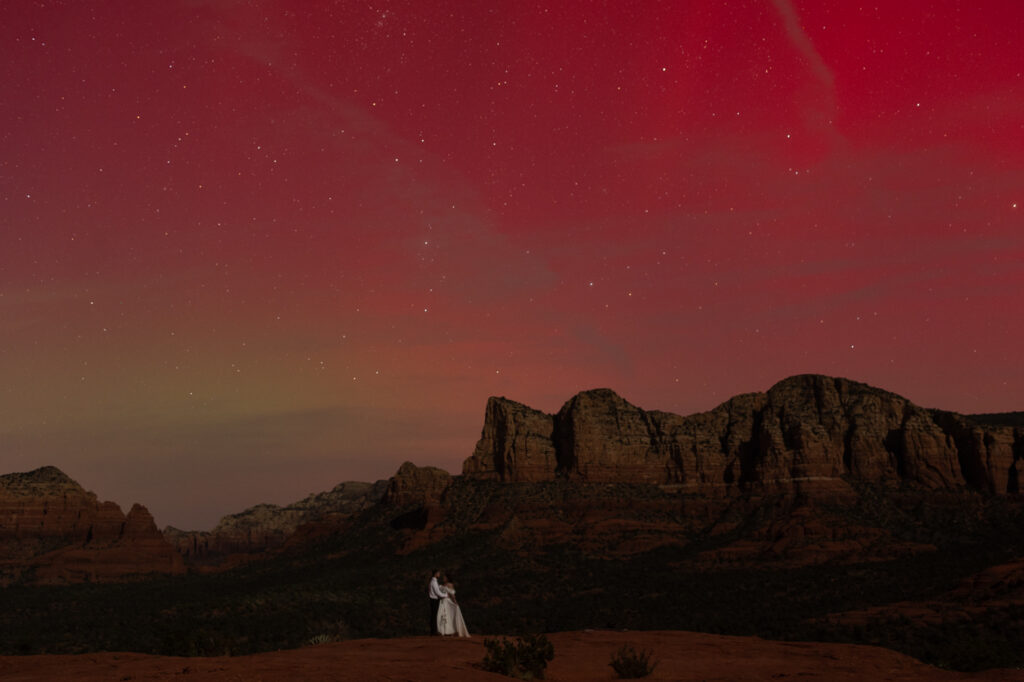
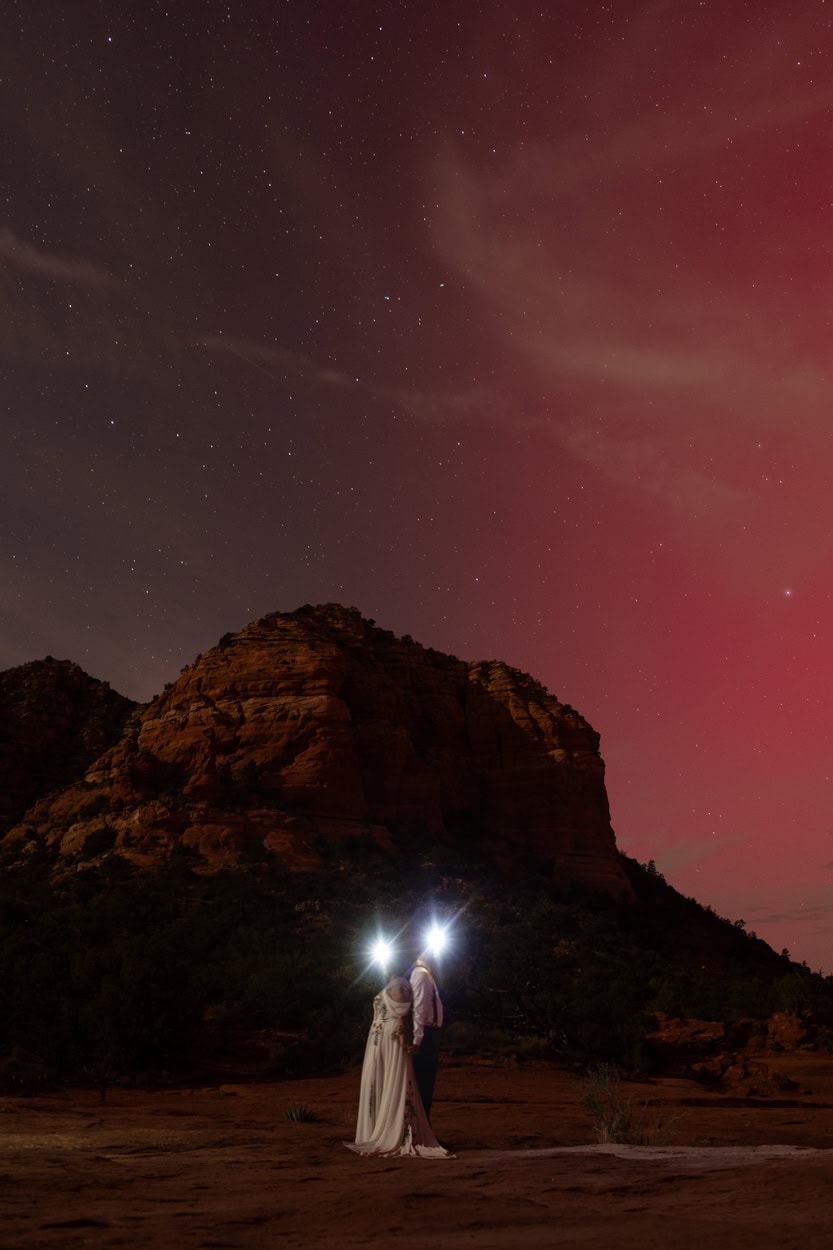
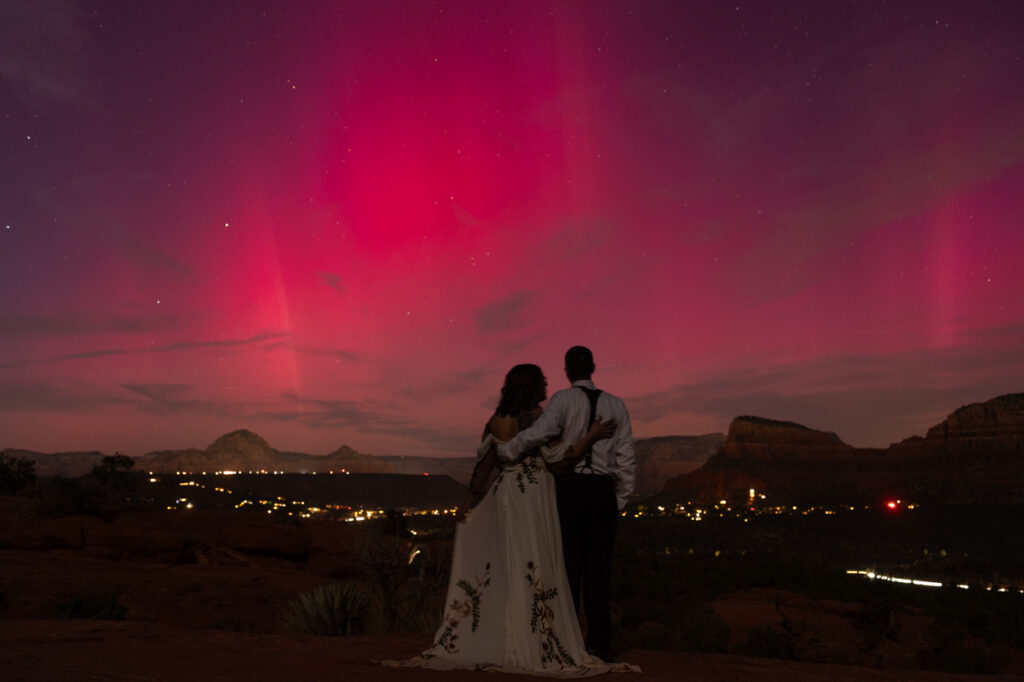
Of course, it’s still possible to take breathtaking night sky wedding photos on other nights of the moon phase as well, like the photo below that was taken on a quarter moon (and a hint of the Northern Lights!)
A few things you should know about the star photo experience on your wedding day:
- You can’t guarantee a clear night for an adventure elopement. We can do our best to plan for the time of year and season in the location you want, but it’s never a given.
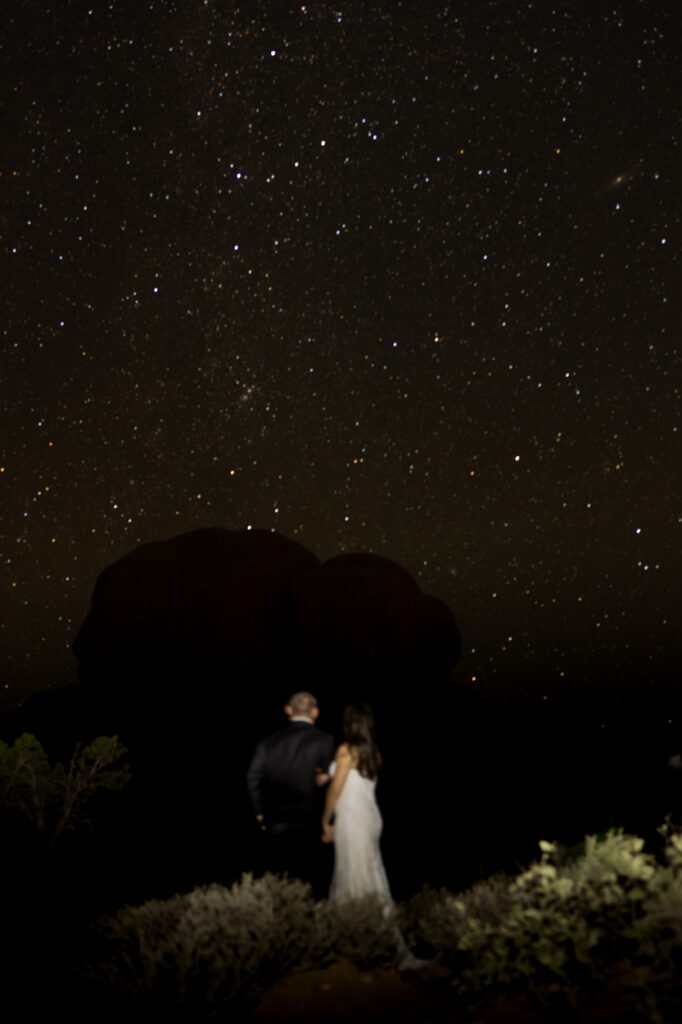
- My camera needs to be taking one photo for a fairly long time in order to capture the light of the stars, which means you have to stand still for longer than normal in each photo (this is why you’ll see a lot of really simple poses in these photos).
- You usually have to wait a little while between the sunset and the stars coming out, so we plan for a little break and a snack between your elopement photos in this downtime! I usually track the length of time in advance, so we’ll know what to expect for your specific elopement location and time of year.
How to Take Star Photos: Photographer Tips for Astrophotography
Astrophotography takes planning in advance, because you’re going to need proper equipment and location planning to give you optimal results.
You want a location that has the least light pollution possible: the less artificial light (street lights, car headlights, city lights) the more stars will be visible. You want to get as far away from a city or other people as possible. Look for Dark Sky Communities or Dark Sky Parks for the best places with minimal light pollution.
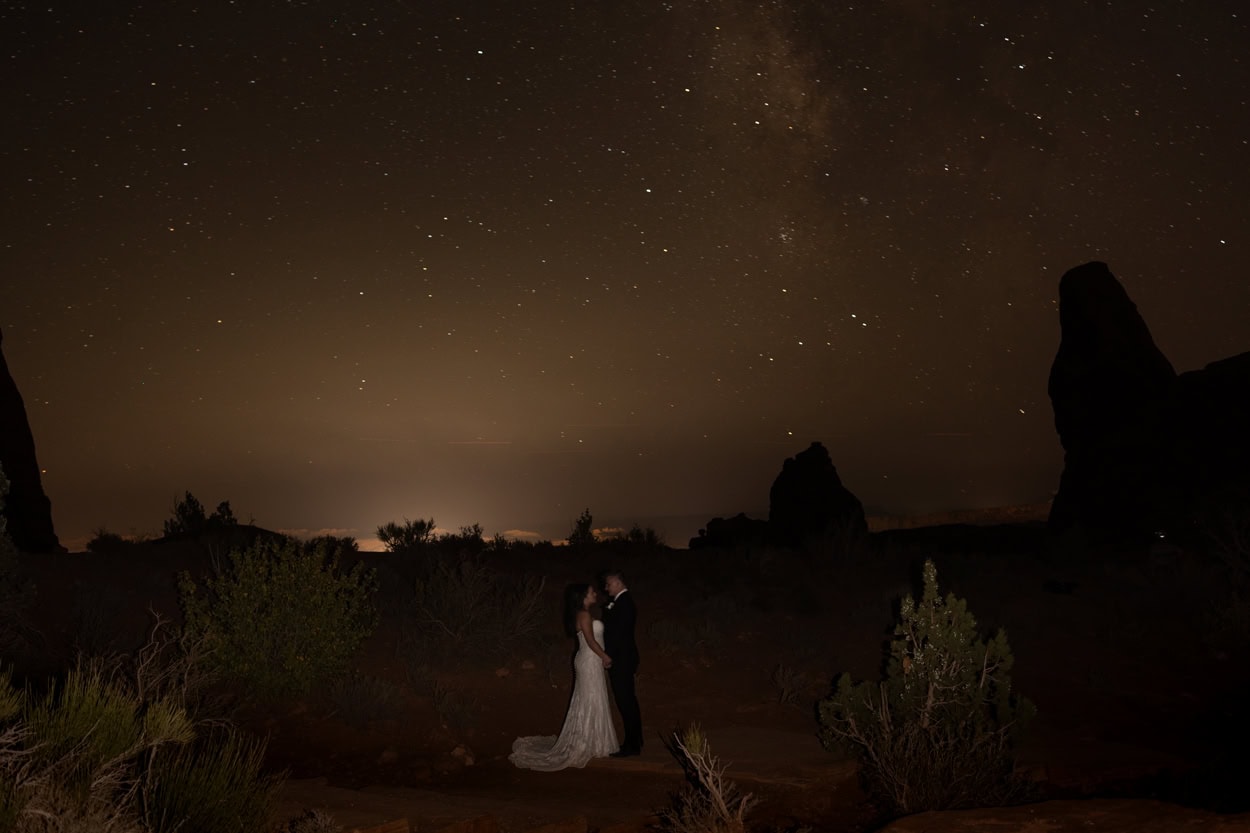
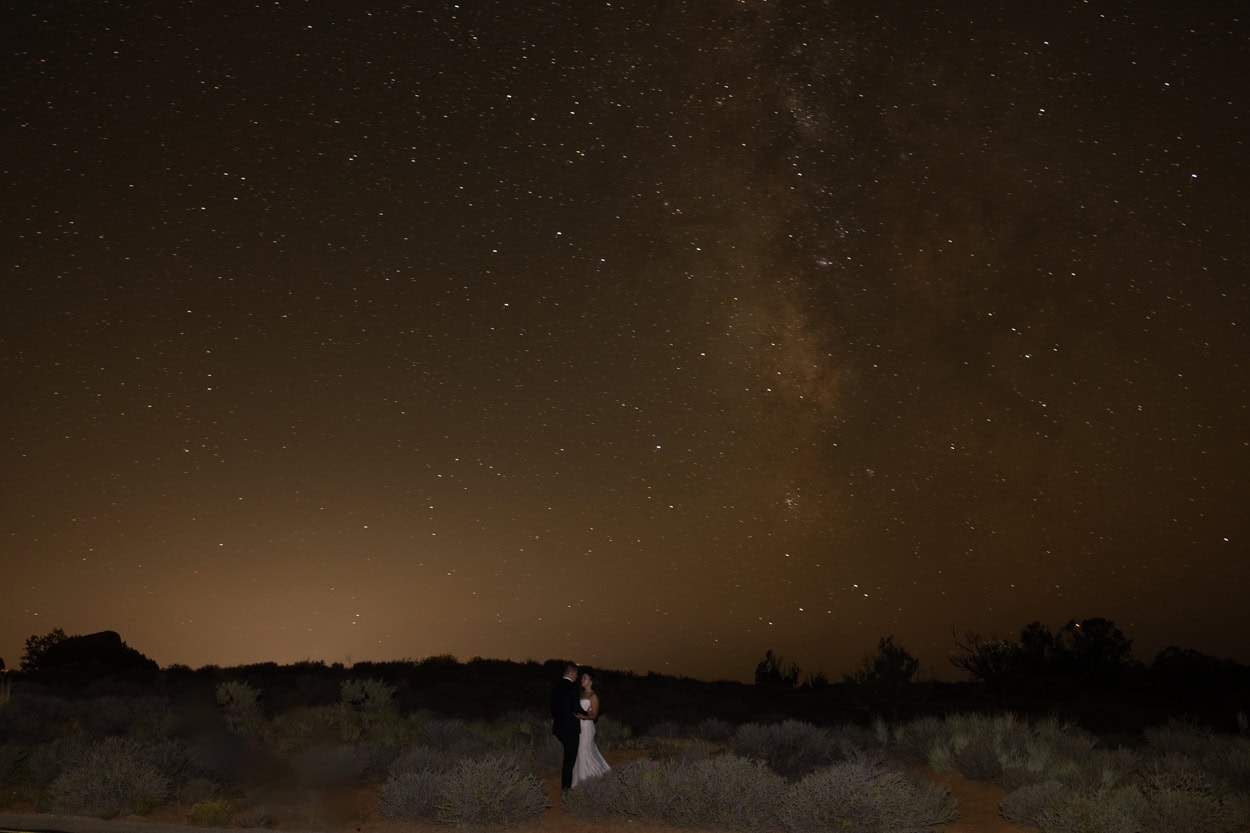
For reference: the following photo was taken in Arches National Park, about 5 miles outside of the town of Moab, Utah, but you can still see the lights from town glowing on the horizon.
A long shutter opening is really important to allow the camera to take in as much light as possible, so a sturdy camera tripod is a must. It’s physically impossible to hold still for a 30 second shutter speed, so you can’t skip this part of setup. Even pushing down on your shutter button can cause motion, so I prefer to use an external shutter release or use the touch sensor on the back of my camera to snap the photo instead of my default shutter.
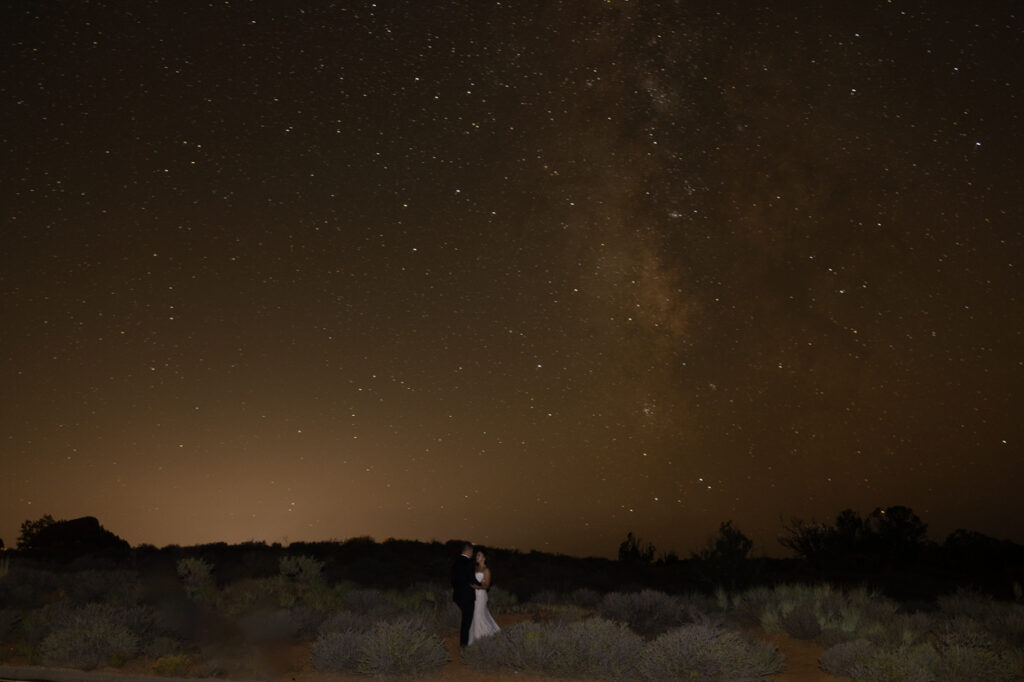
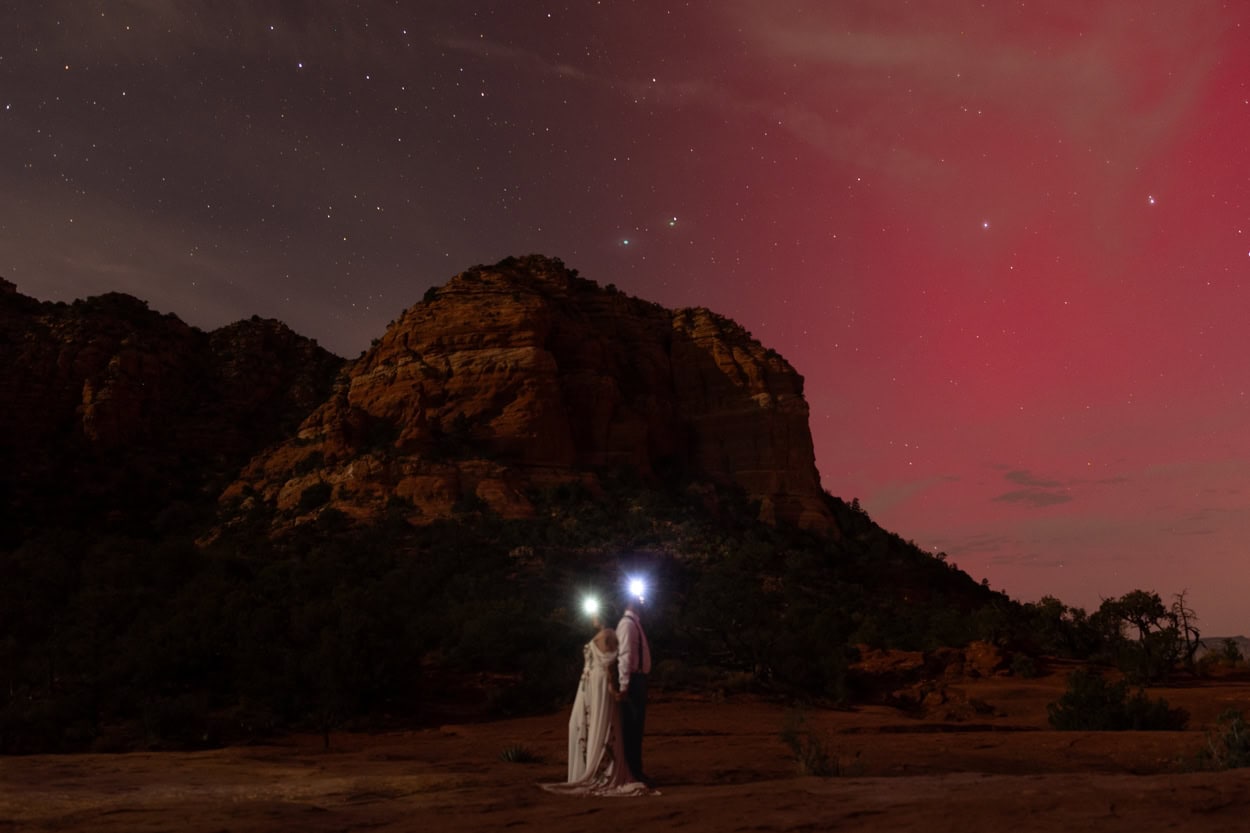
You can use a headlamp, external lighting source, or even car headlights to add light to your subject and allow the couple to be visible when it’s otherwise too dark. I typically suggest my couple stands in a very comfortable, easy pose and looks away from the camera to avoid movement in their body or expressions when they have to hold completely still for multiple seconds at a time.
Start with the longest shutter speed that your camera allows (mine is 30 seconds). I start with an ISO of 1600, and a medium aperture somewhere between 3.2-8. These are the settings I start with, then adjust from there.
KEY TAKEAWAYS:
- Know in advance that you need to plan the location + light sources ahead of time.
- Communicate with your couple the way posing might feel different to hold still for this length of time and that each photo takes longer than normal (I usually let them listen to a full shutter when we start so they know what to expect).
- Test out the right settings for your circumstances, starting with a longer shutter and moving down depending on light.
Ready to start planning your own romantic night sky wedding day?
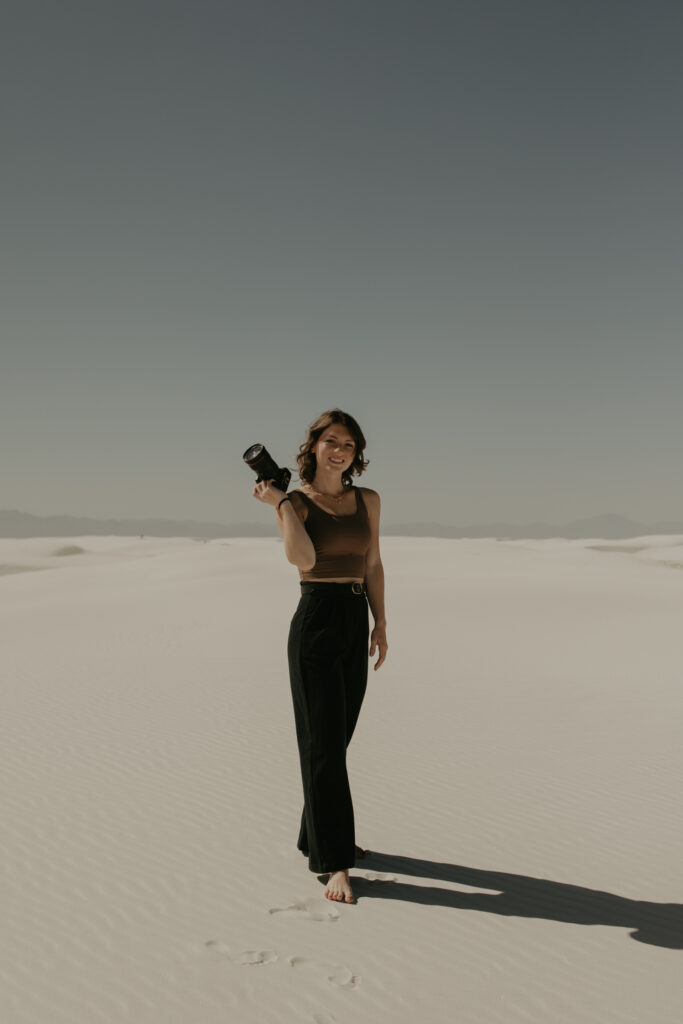
I’m McKenna, an elopement and adventure wedding photographer.
Not only do I tag along to document intimate weddings through photography, but I also help guide in planning and creating each of my couple’s unique wedding days along the way.
I would be honored to capture these beautiful memories for you. CONTACT ME today and let’s dive into planning your adventurous wedding day!