How to Hang photos in your home like a designer
This is coming from the interior designer in me, because as much as the photographer in me loves when you print any photo to enjoy and share, the designer wants to make sure that it looks BOMB up on your walls, and adds to the decor in your home. So let’s go over a few best practices when it comes to displaying your photos in your home.
First things first: always, always print through your photographer. If your photographer does not have their own print lab, ask for recommendations on where to print. Most photogs have quality tested countless professional labs to find the best match for their style. Quick print labs (such as Walmart, Walgreens or Costco) have automatic color correction and enhancement systems that negate the editing work and rarely match the photography style that you’ve already invested in.
Fill the space
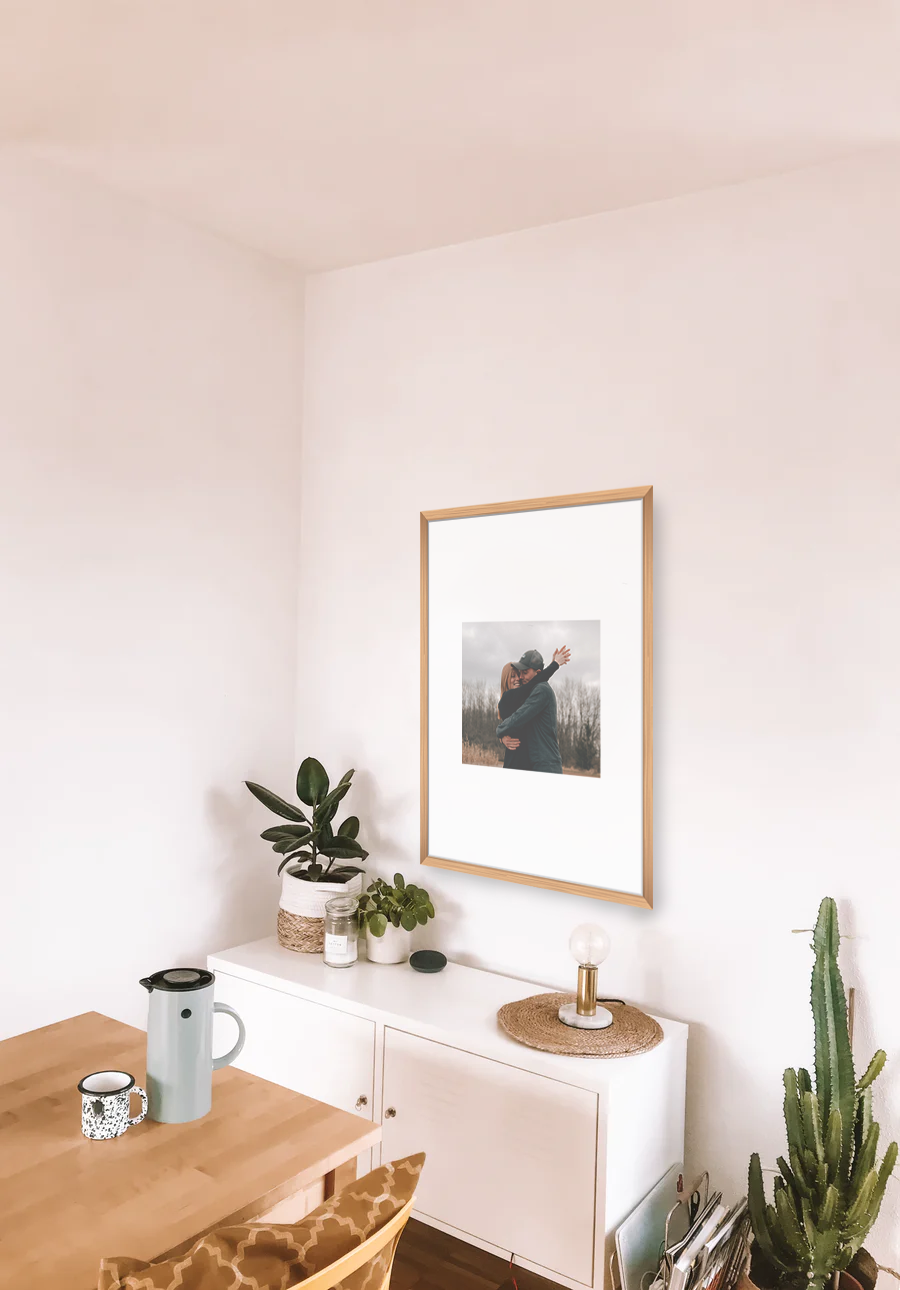
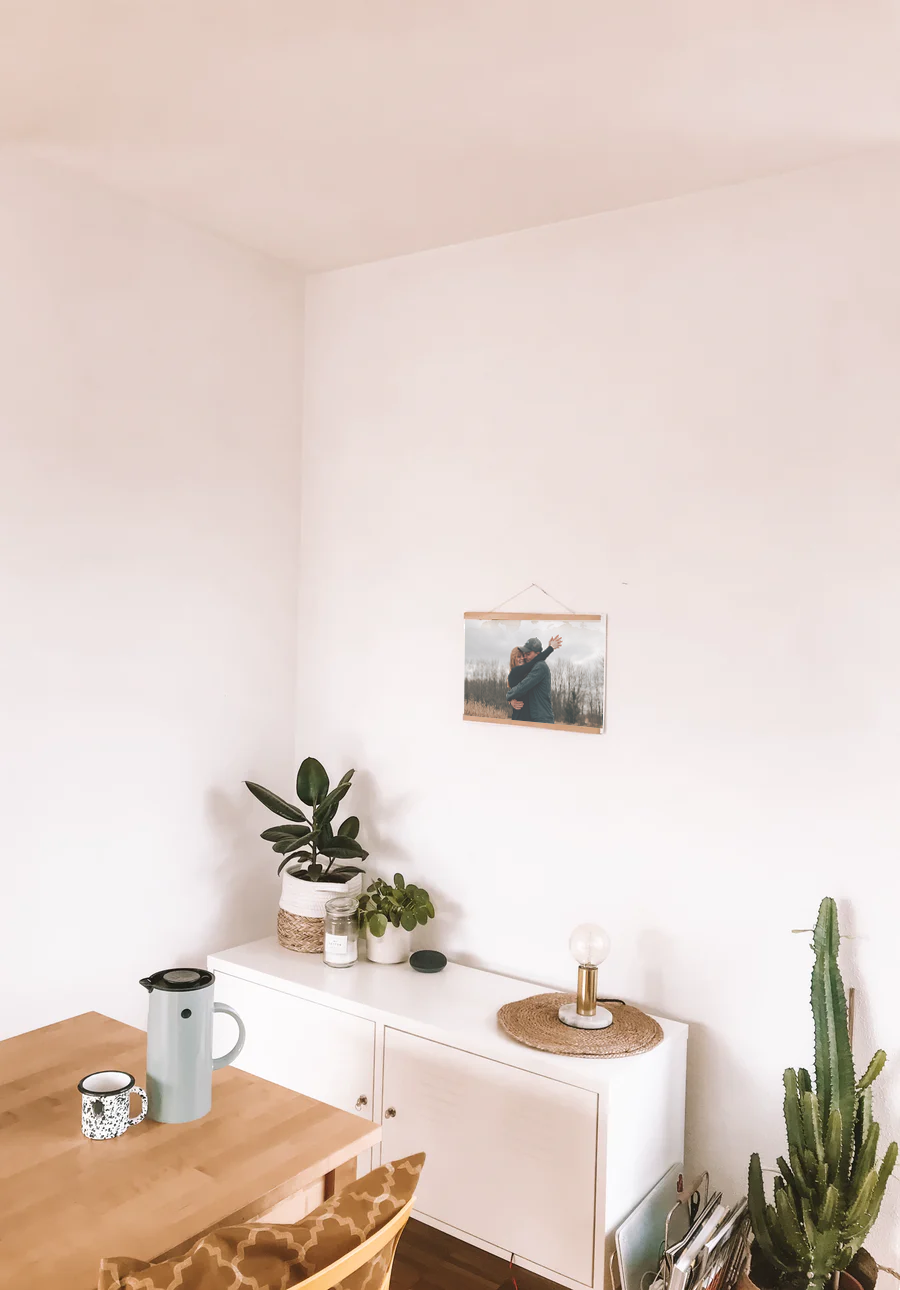
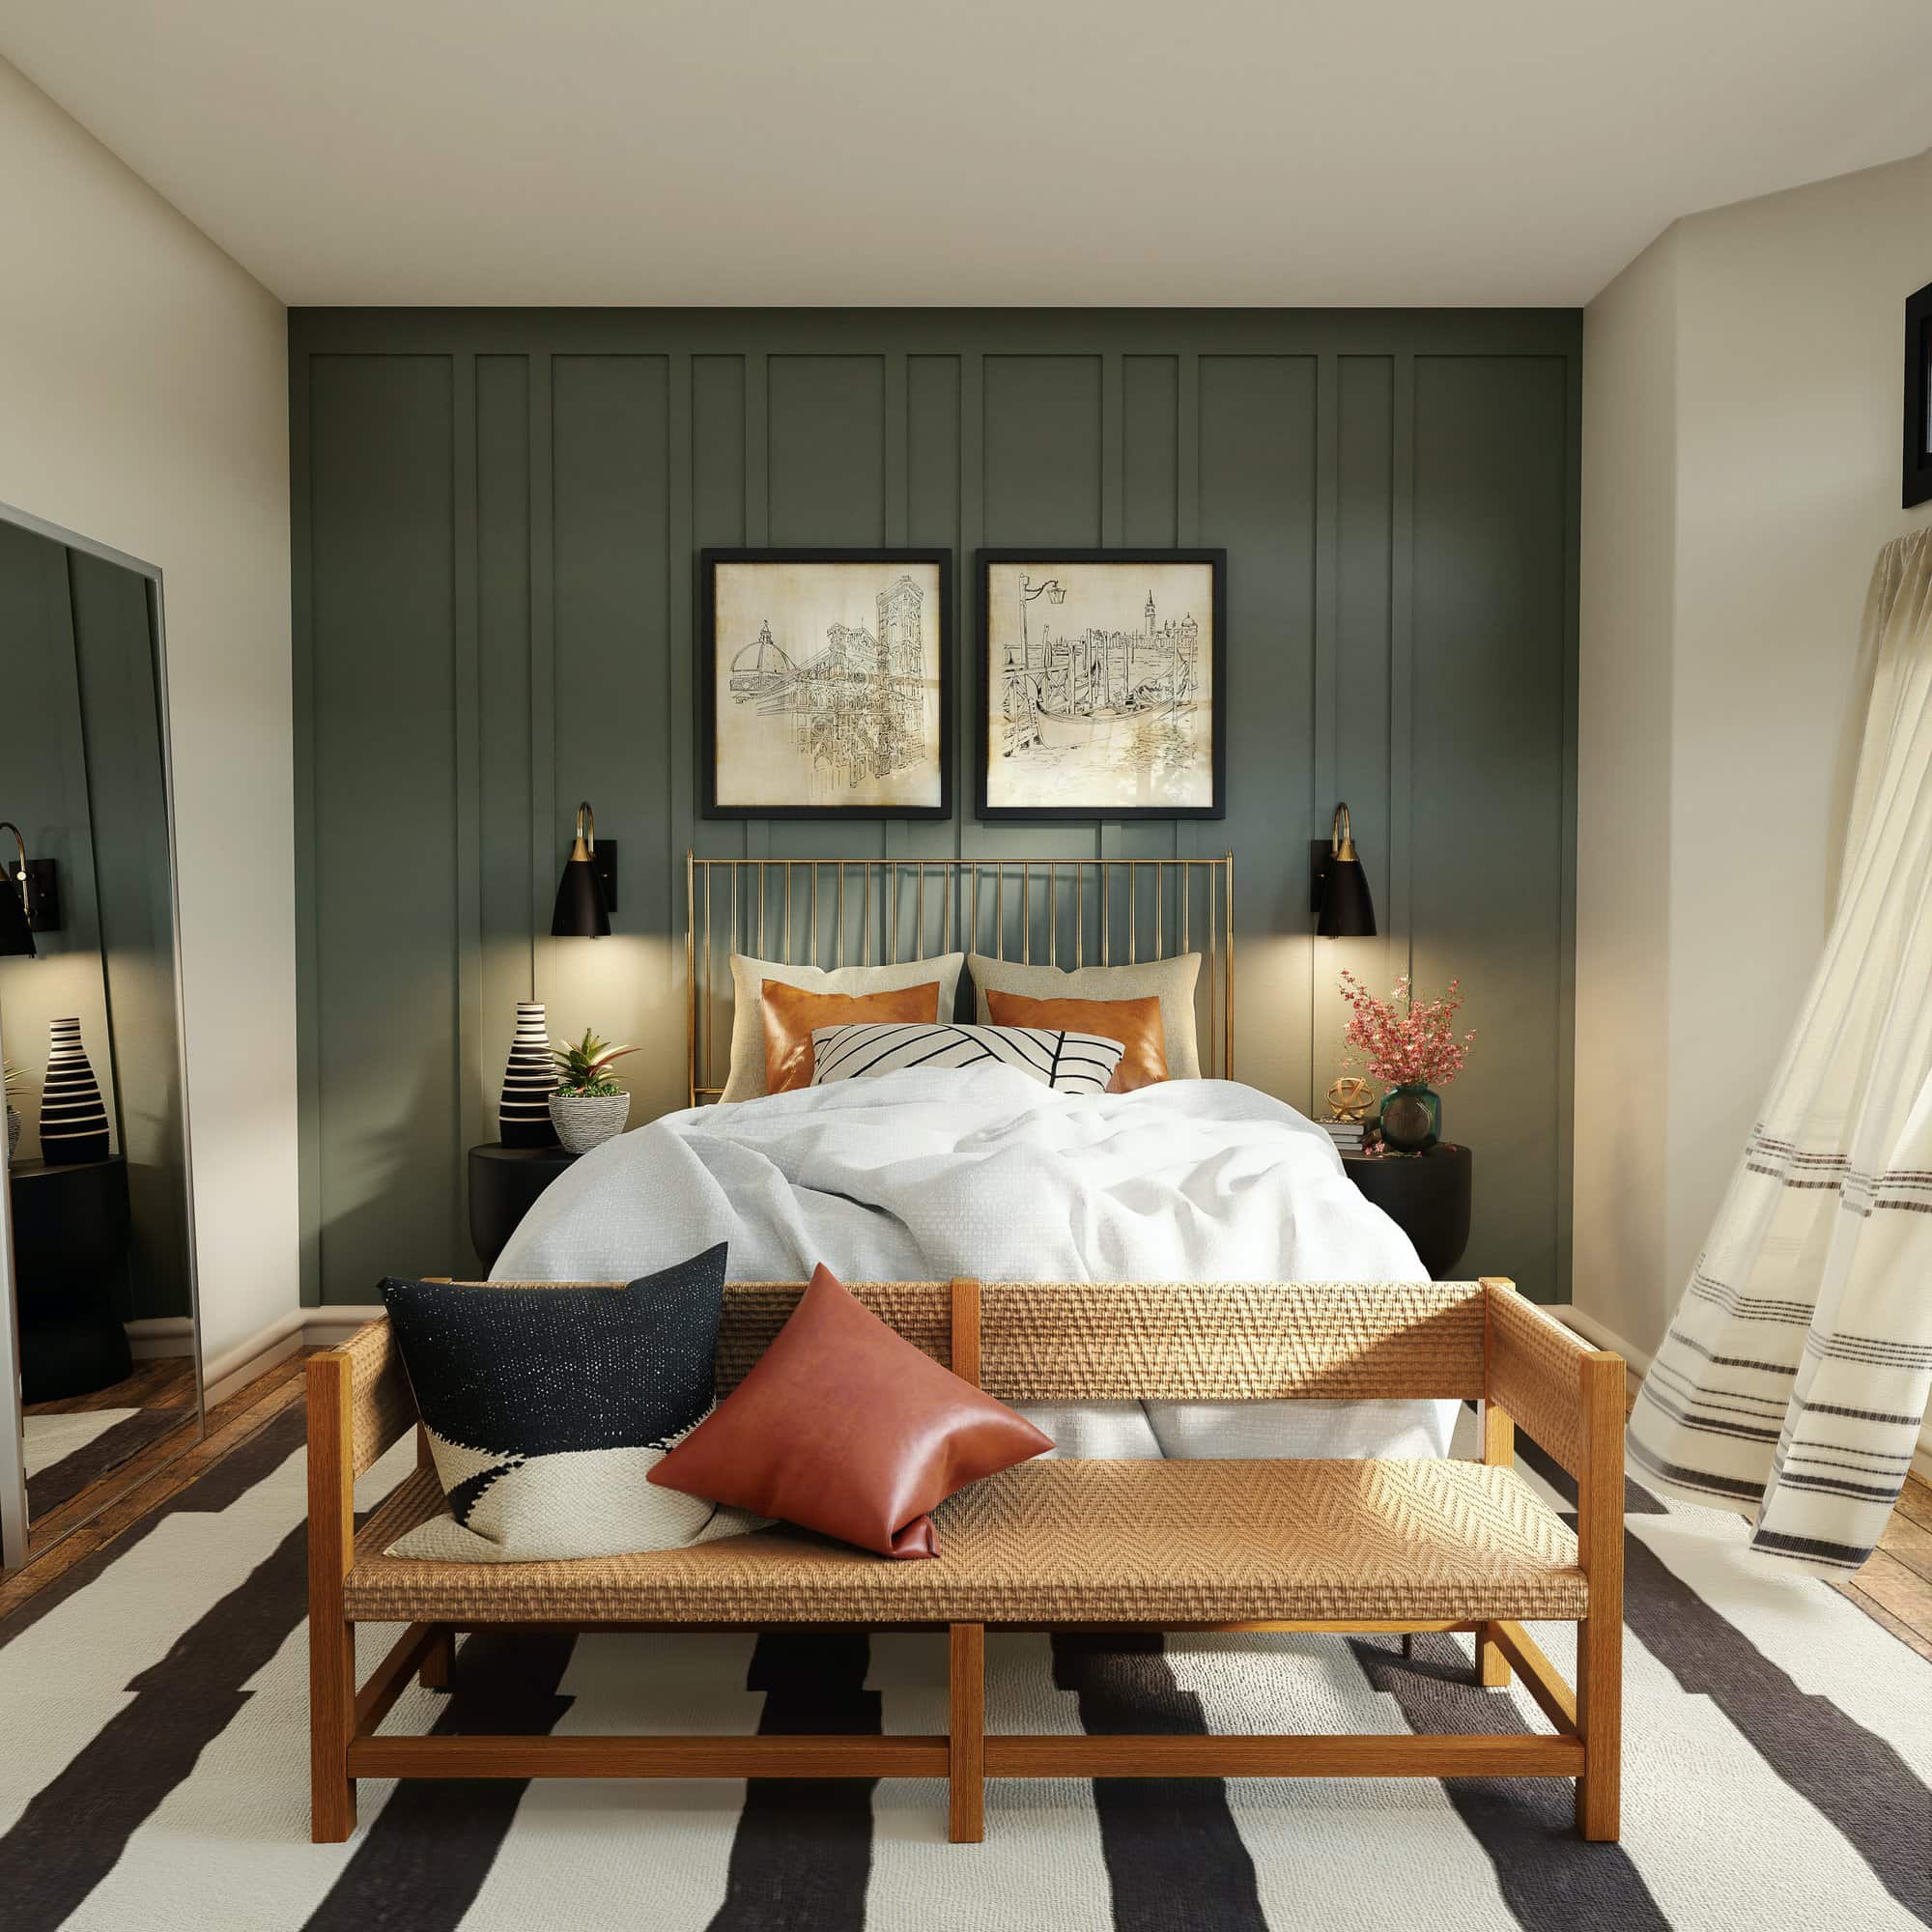
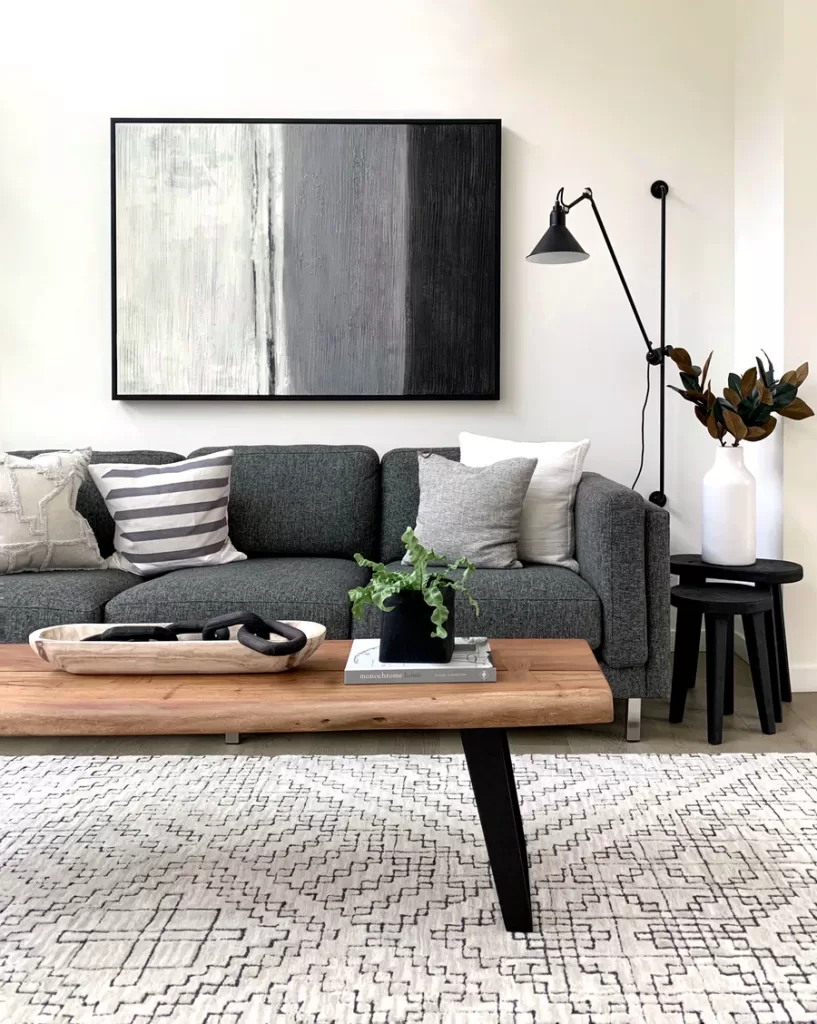
If you want a statement piece on your wall, it needs (I repeat NEEDS) to fill up your space! This is the biggest mistake I see most people make with the art in their home. Small prints look cheap when they are hanging next to large furniture. It ends up making the space feel pinched and it is harder to enjoy the photo. Instead, print your photos bigger, or if you have a mid-size print, use a large mat to give a luxury look. See the difference in the spaces below? The larger prints fill in the space so much better.
Now that you’ve seen the appeal of a large print, we can dive into the technicalities. With multiple prints, keep the frames 2-4 inches apart (the variation can depend on the size of the frame overall, a thick frame can be closer to 4).
The entirety of your art should be about ⅔ the width of your furniture piece (or a furniture grouping). This way, it brings the attention to the center of the area and allows better focus on the art instead of splitting up the space. For an 84” sofa (this is the average 3 seater), use one long piece (48”x36” frame) or two vertical pieces (such as two 16” x24”).
Hanging Heights
I think this makes us all cringe just a little bit. Let’s make it simple: in standard practice, the center of your art frame should be around eye level for the AVERAGE person. This means that it is best to center your piece around 58-60.” SO many people hang their art way too high because they are tall, and/or they center it between the ceiling and furniture. Your artwork should only be 6-8” above your furniture piece. It does not need two feet!

Gallery walls
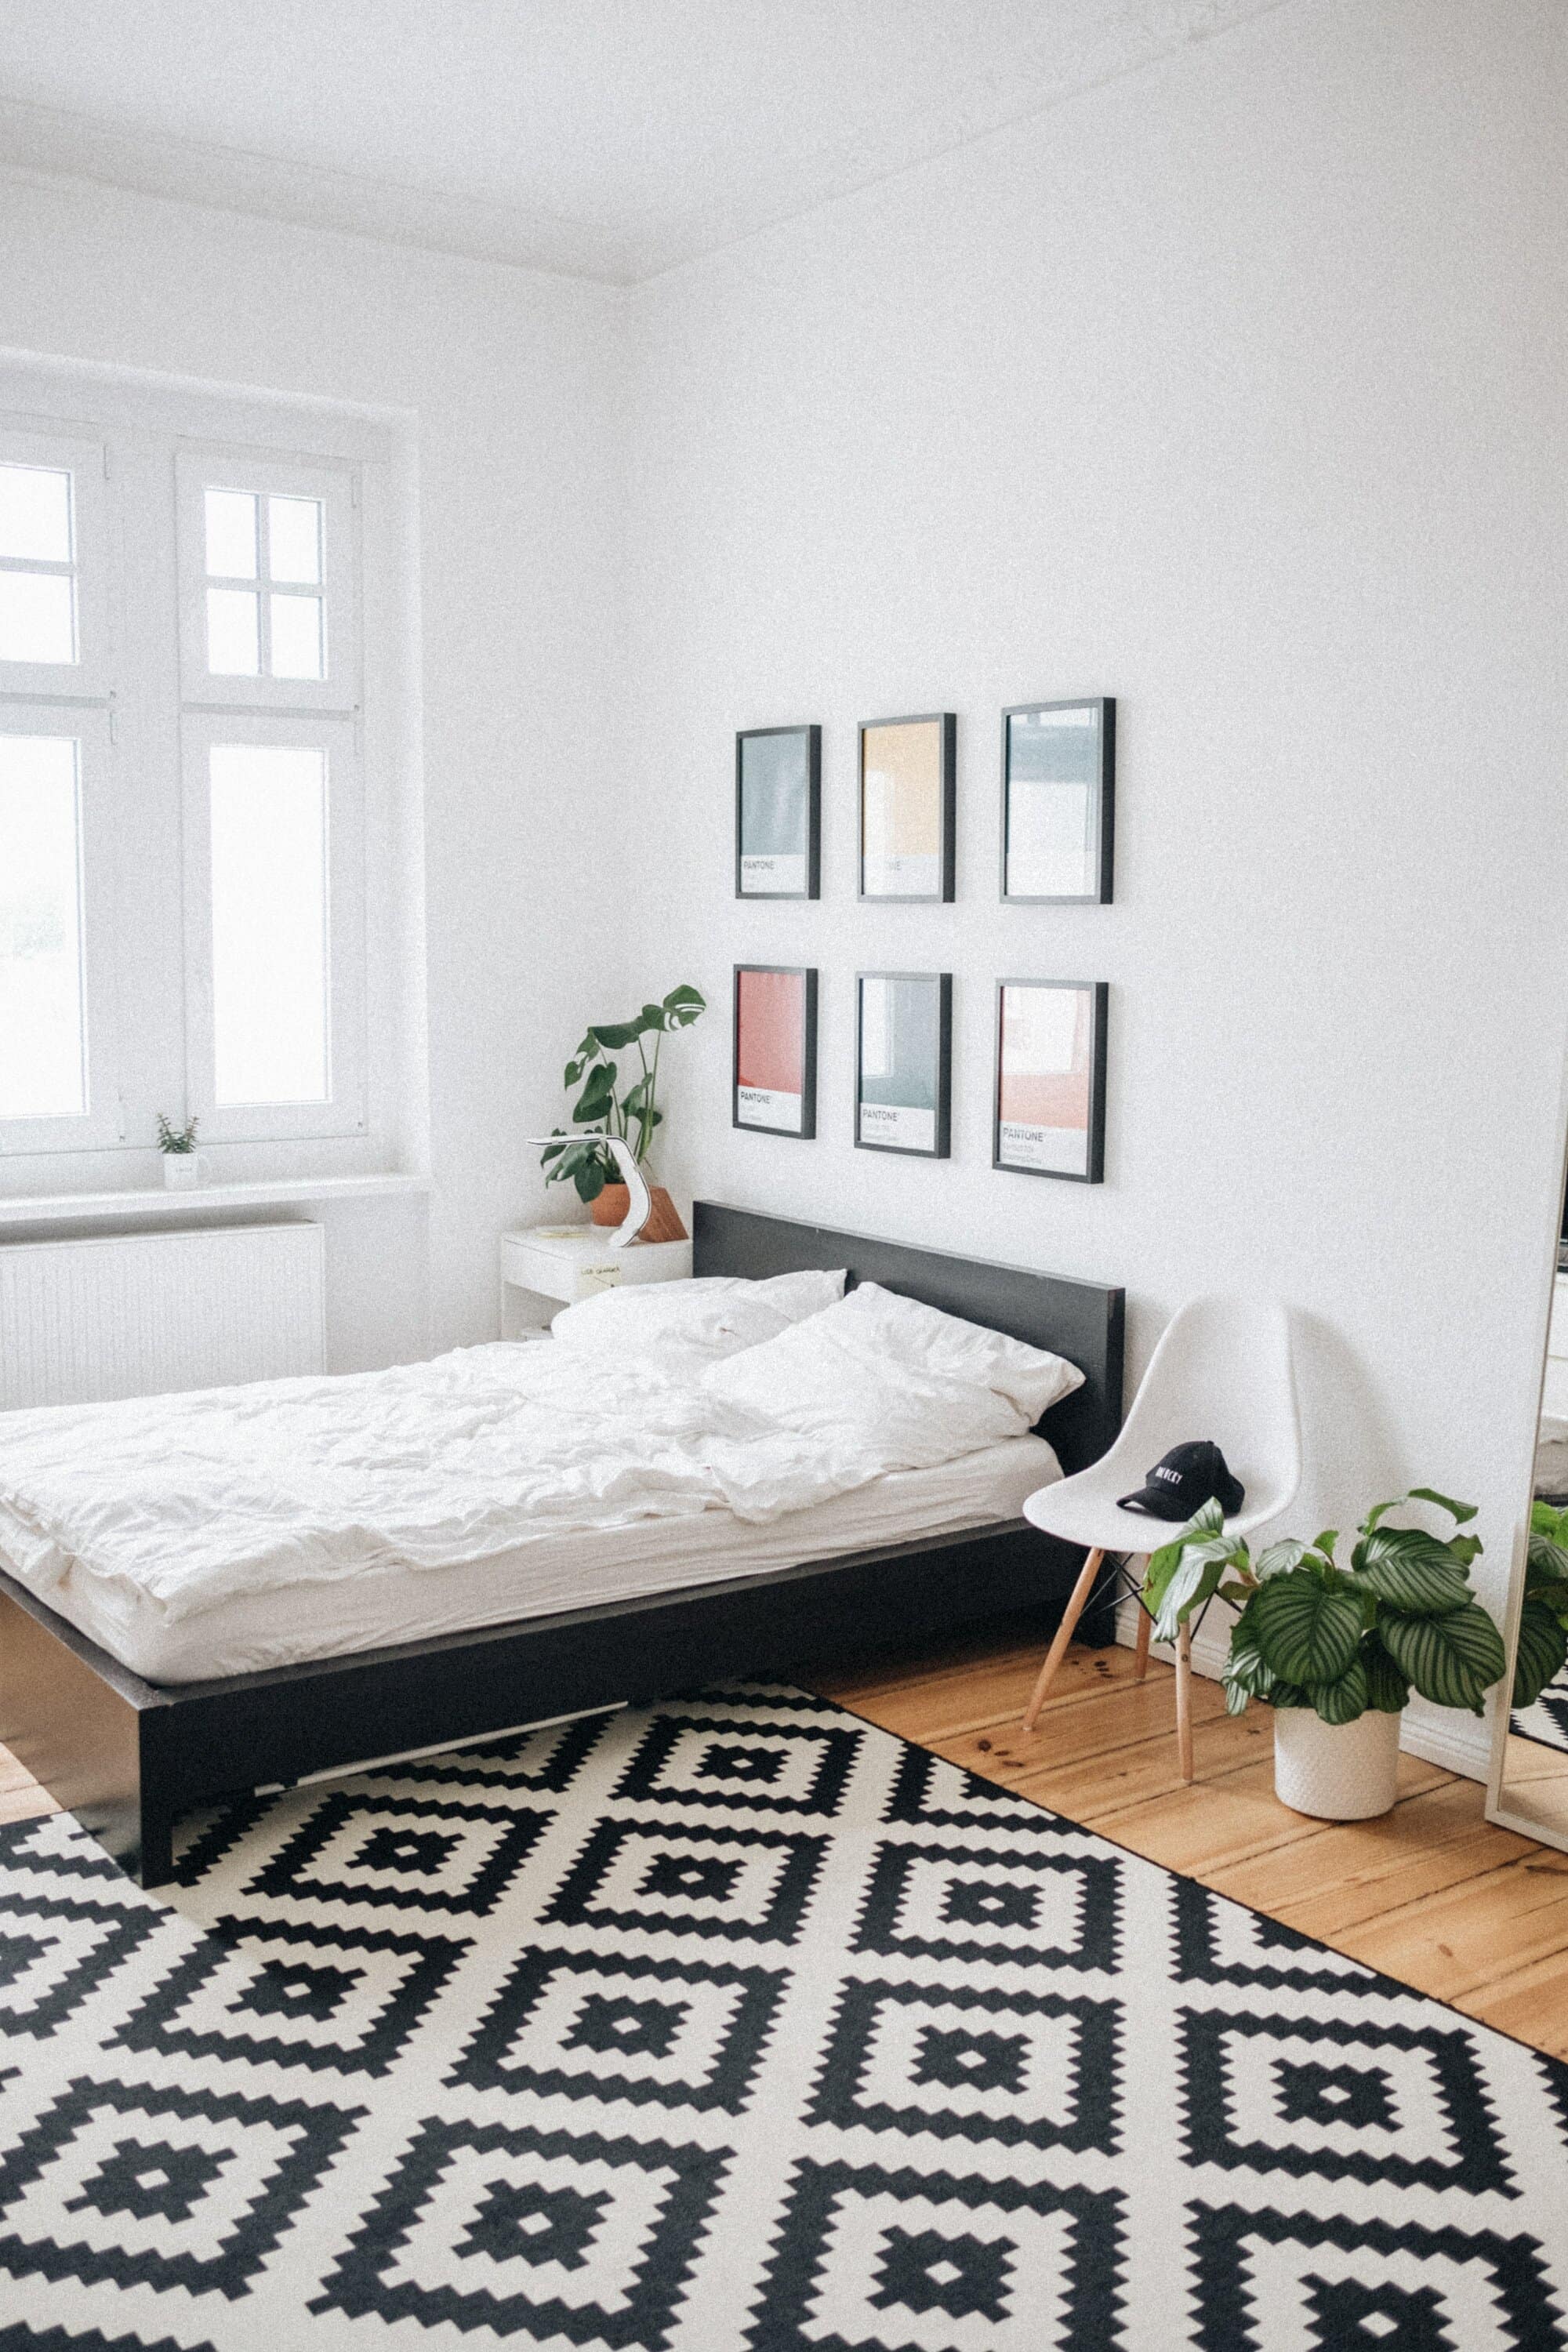
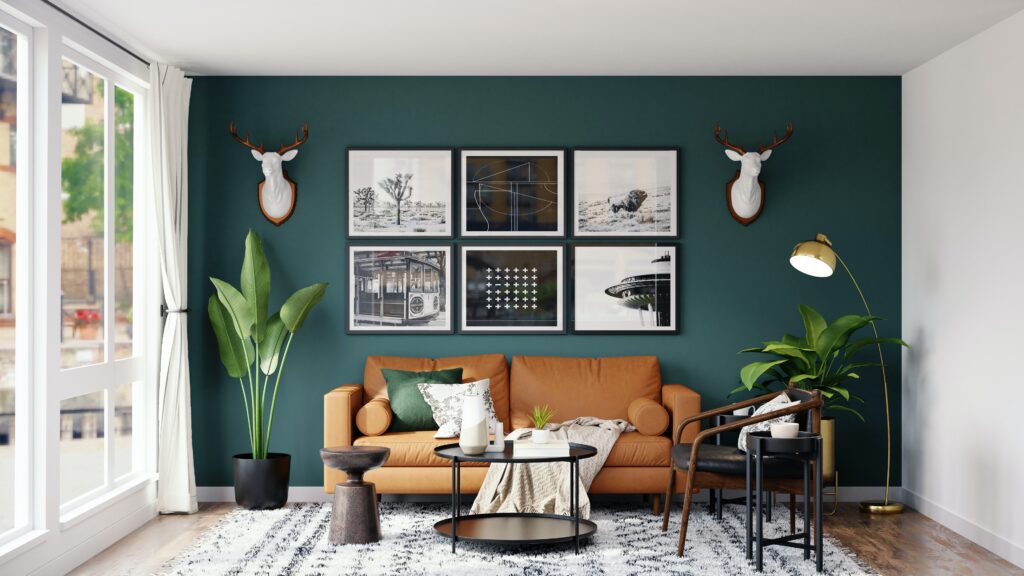
For a gallery look, when grouping your prints, there are a few ways you can do it. If you don’t know where to begin, a good place to start is by grouping colors together. This is the most aesthetically pleasing to the eye, but is not completely necessary either. You can play with complementary colors, it just starts to get busy if you have a full gallery. Matching frame color and mat color is a good way to offset the colors if your prints range a lot. A grid gallery is common, but there are other ways to group your photos if you want various sizes. See a few examples below for good gallery groupings.
Here are two examples of gallery wall looks. You see a classic, clean grid on the left with 20” x 16” frames. The second “tetris” gallery features more frame variety, and is pieced together to still give the appearance of one large piece.

With all of that being said, don’t be afraid to play a little with heights, sizes, and creative placements! Art doesn’t always have to be behind your sofa or above your mantle. There’s no better way to display your favorite moments then printing them large to share, so find nooks all over your home to show off your story!
in need of New art for your home?
Take a look at some of my favorite fine art prints from my travels and adventures.