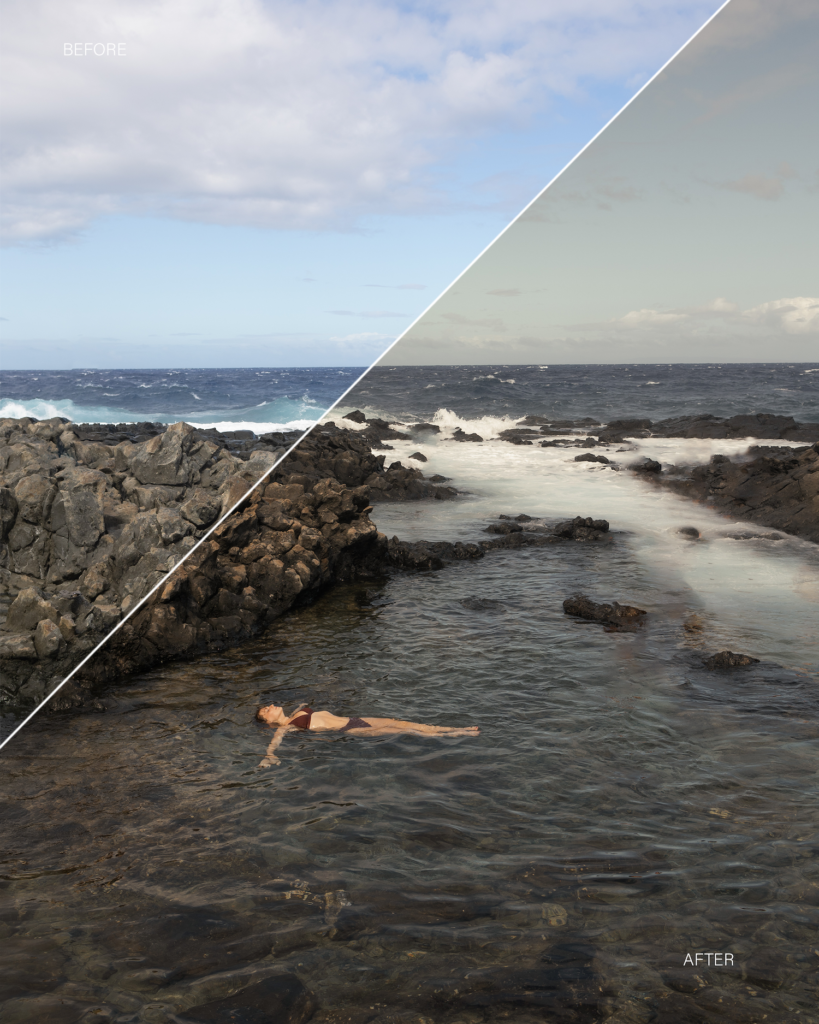
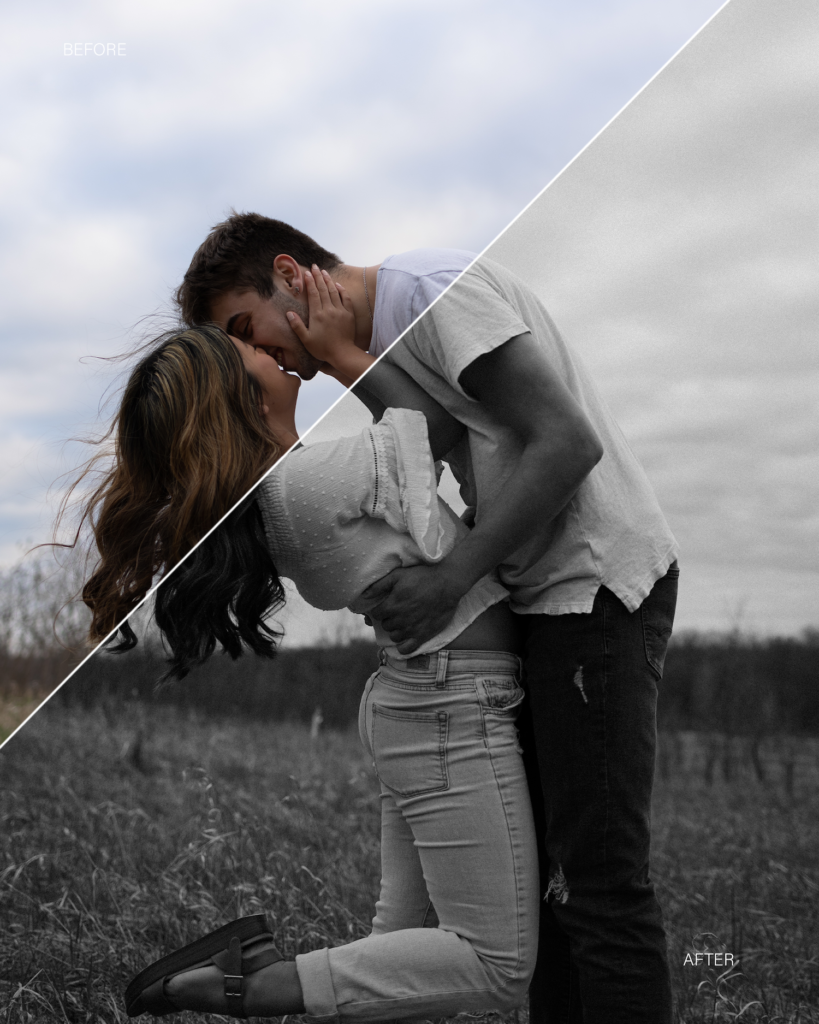
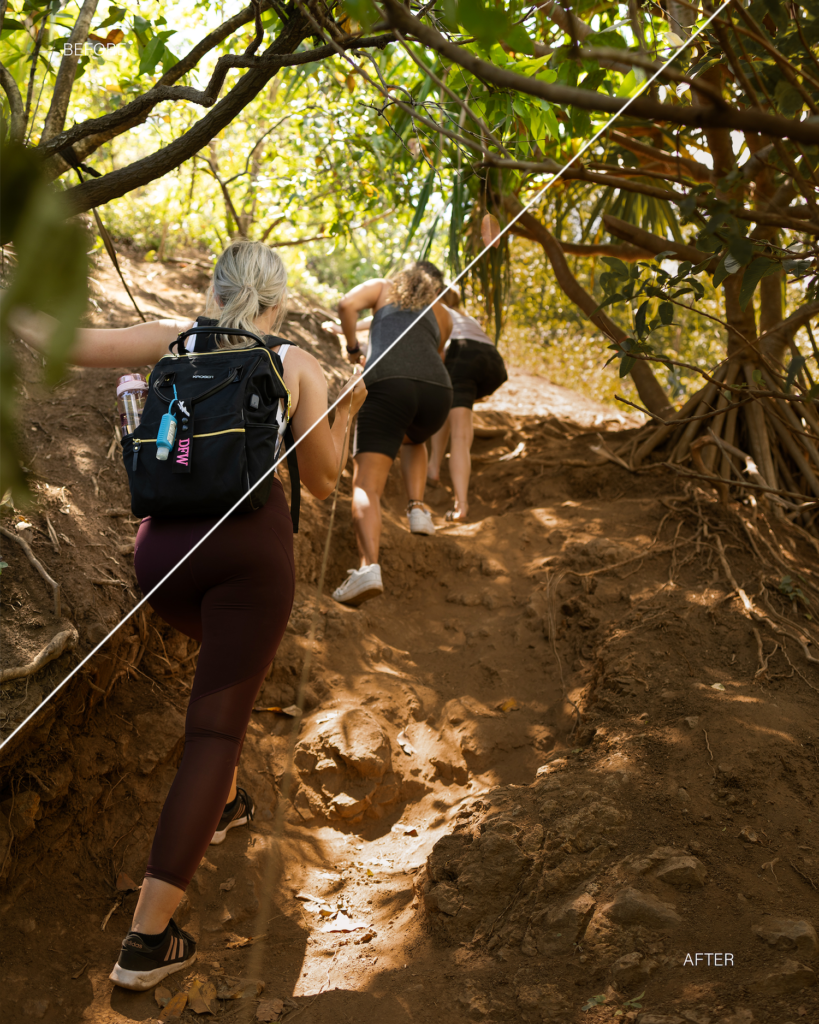
Barefoot summer mobile preset pack
Designed to document your adventures beautifully. The Pack is inspired by the richness of color we see after a fresh rain. It was created with wanderlust, made to portray the thrill of exploring new places and joy of being immersed in the outdoors.
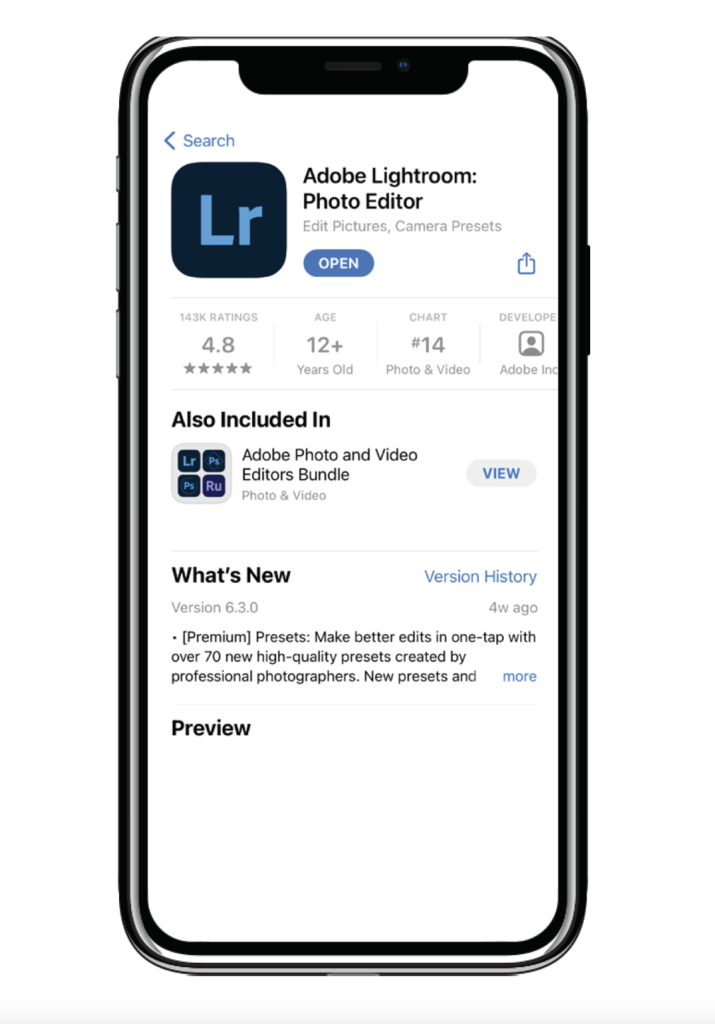
1. Download and install the latest version of the lightroom mobile app on your smartphone.
2. Unzip the Barefoot Summer Zip file
Download the zip folder that was emailed to you after purchase.You can download them to your computer, unzip, and then send the .DNG files to yourself (airdrop works as well). After unzipping the folder, download each .DNG file individually on your phone and save the image to your camera roll.
* Note, the images in your pack will look the same when you import them into Lightroom, but do not stress! It is the data within the .dng file that you use to copy into LR Mobile and create each preset. They may not appear as an image in your camera roll in the photos app, but once you open it in Lightroom Mobile it will show up.
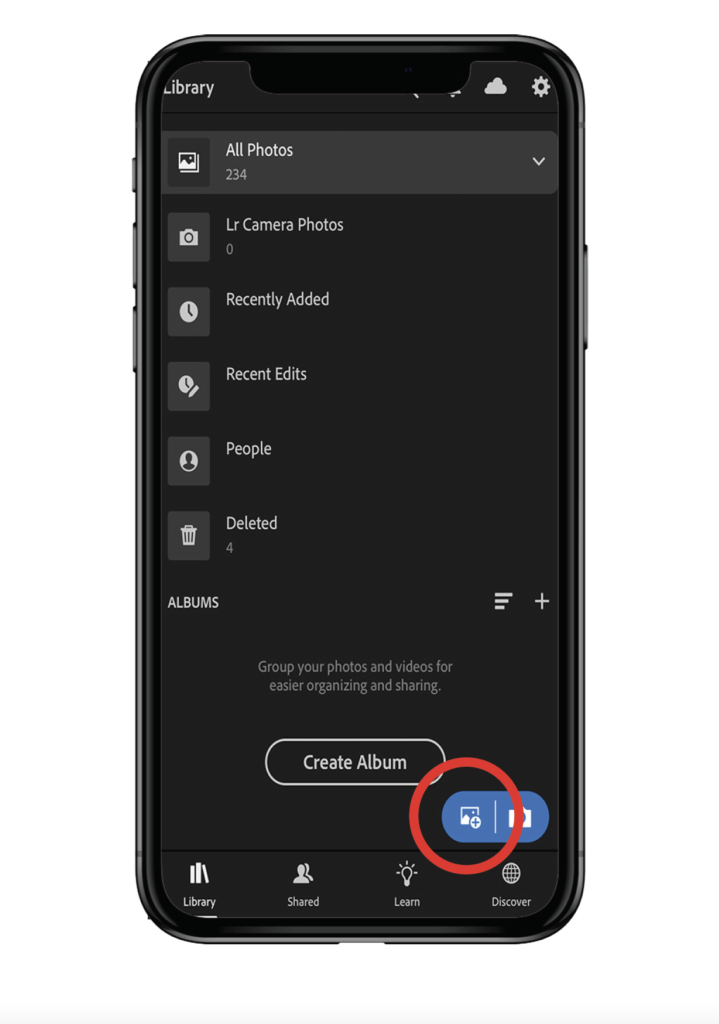
3. Upload the .dng files to your lightroom photo library
Tap the + and Create Album. Title the album “Barefoot Summer Preset Pack” and tap OK.
Tap the three little dots (…) at the far right of your album to open the settings and tap “Add Photos.”
Tap Camera Roll and select all of the Preset Photos by tapping each one (they will either be titled DNG or may just be blank images).
Once they are selected, tap “Add Photos” at the bottom of the app to add them to your Lightroom album.
4. Save each preset to your mobile user presets
Tap on your Album and Tap on the first Preset Photo (BSP1).
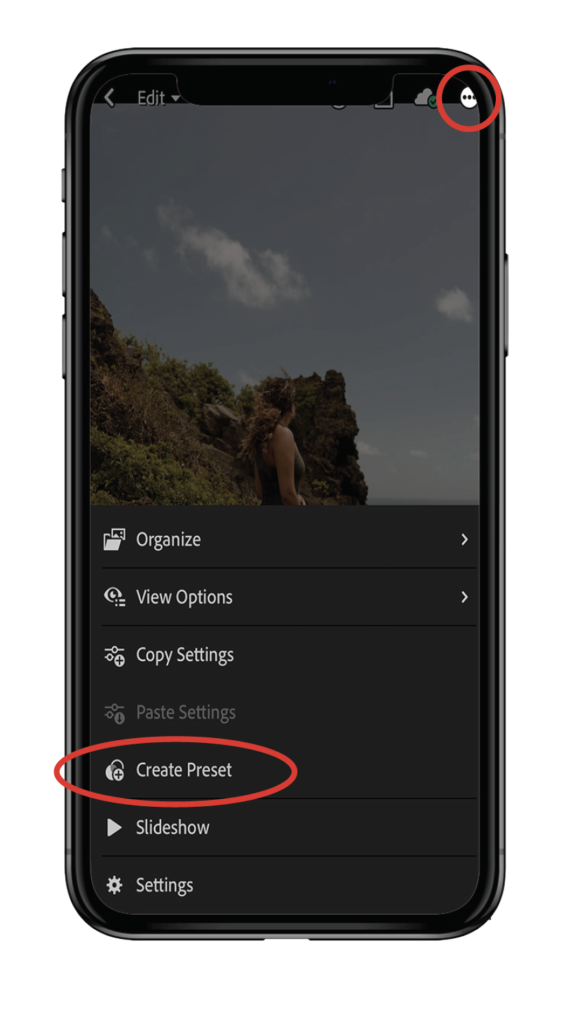
Tap the three little dots (…) at the top right of the app to open the photo settings.
Tap Create Preset.
Tap the “User Presets” under Preset Group.
Tap Create New Preset Group. Title it “Barefoot Summer Preset Pack” and Tap Done.
Title the Preset Name the name of the Preset Image (BSP1….etc.) and Tap Done.
5. Repeat for all 9 presets
Scroll to the next image and repeat the steps to create a new preset and don’t forget to select the Barefoot Summer Preset Pack Preset Group each time you create the next preset to ensure they are all in the same folder.
6. Happy editing!
You are all set to use the Barefoot Summer Presets. When you are ready to use them, open your photo in Lightroom and click on the preset tab at the bottom of the screen. Open the Barefoot Summer Preset Pack album, and start playing with your presets! Along the bottom, you will find all of the adjustments to make the presets work with your photo! I suggest starting with exposure if you need to make tweaks.
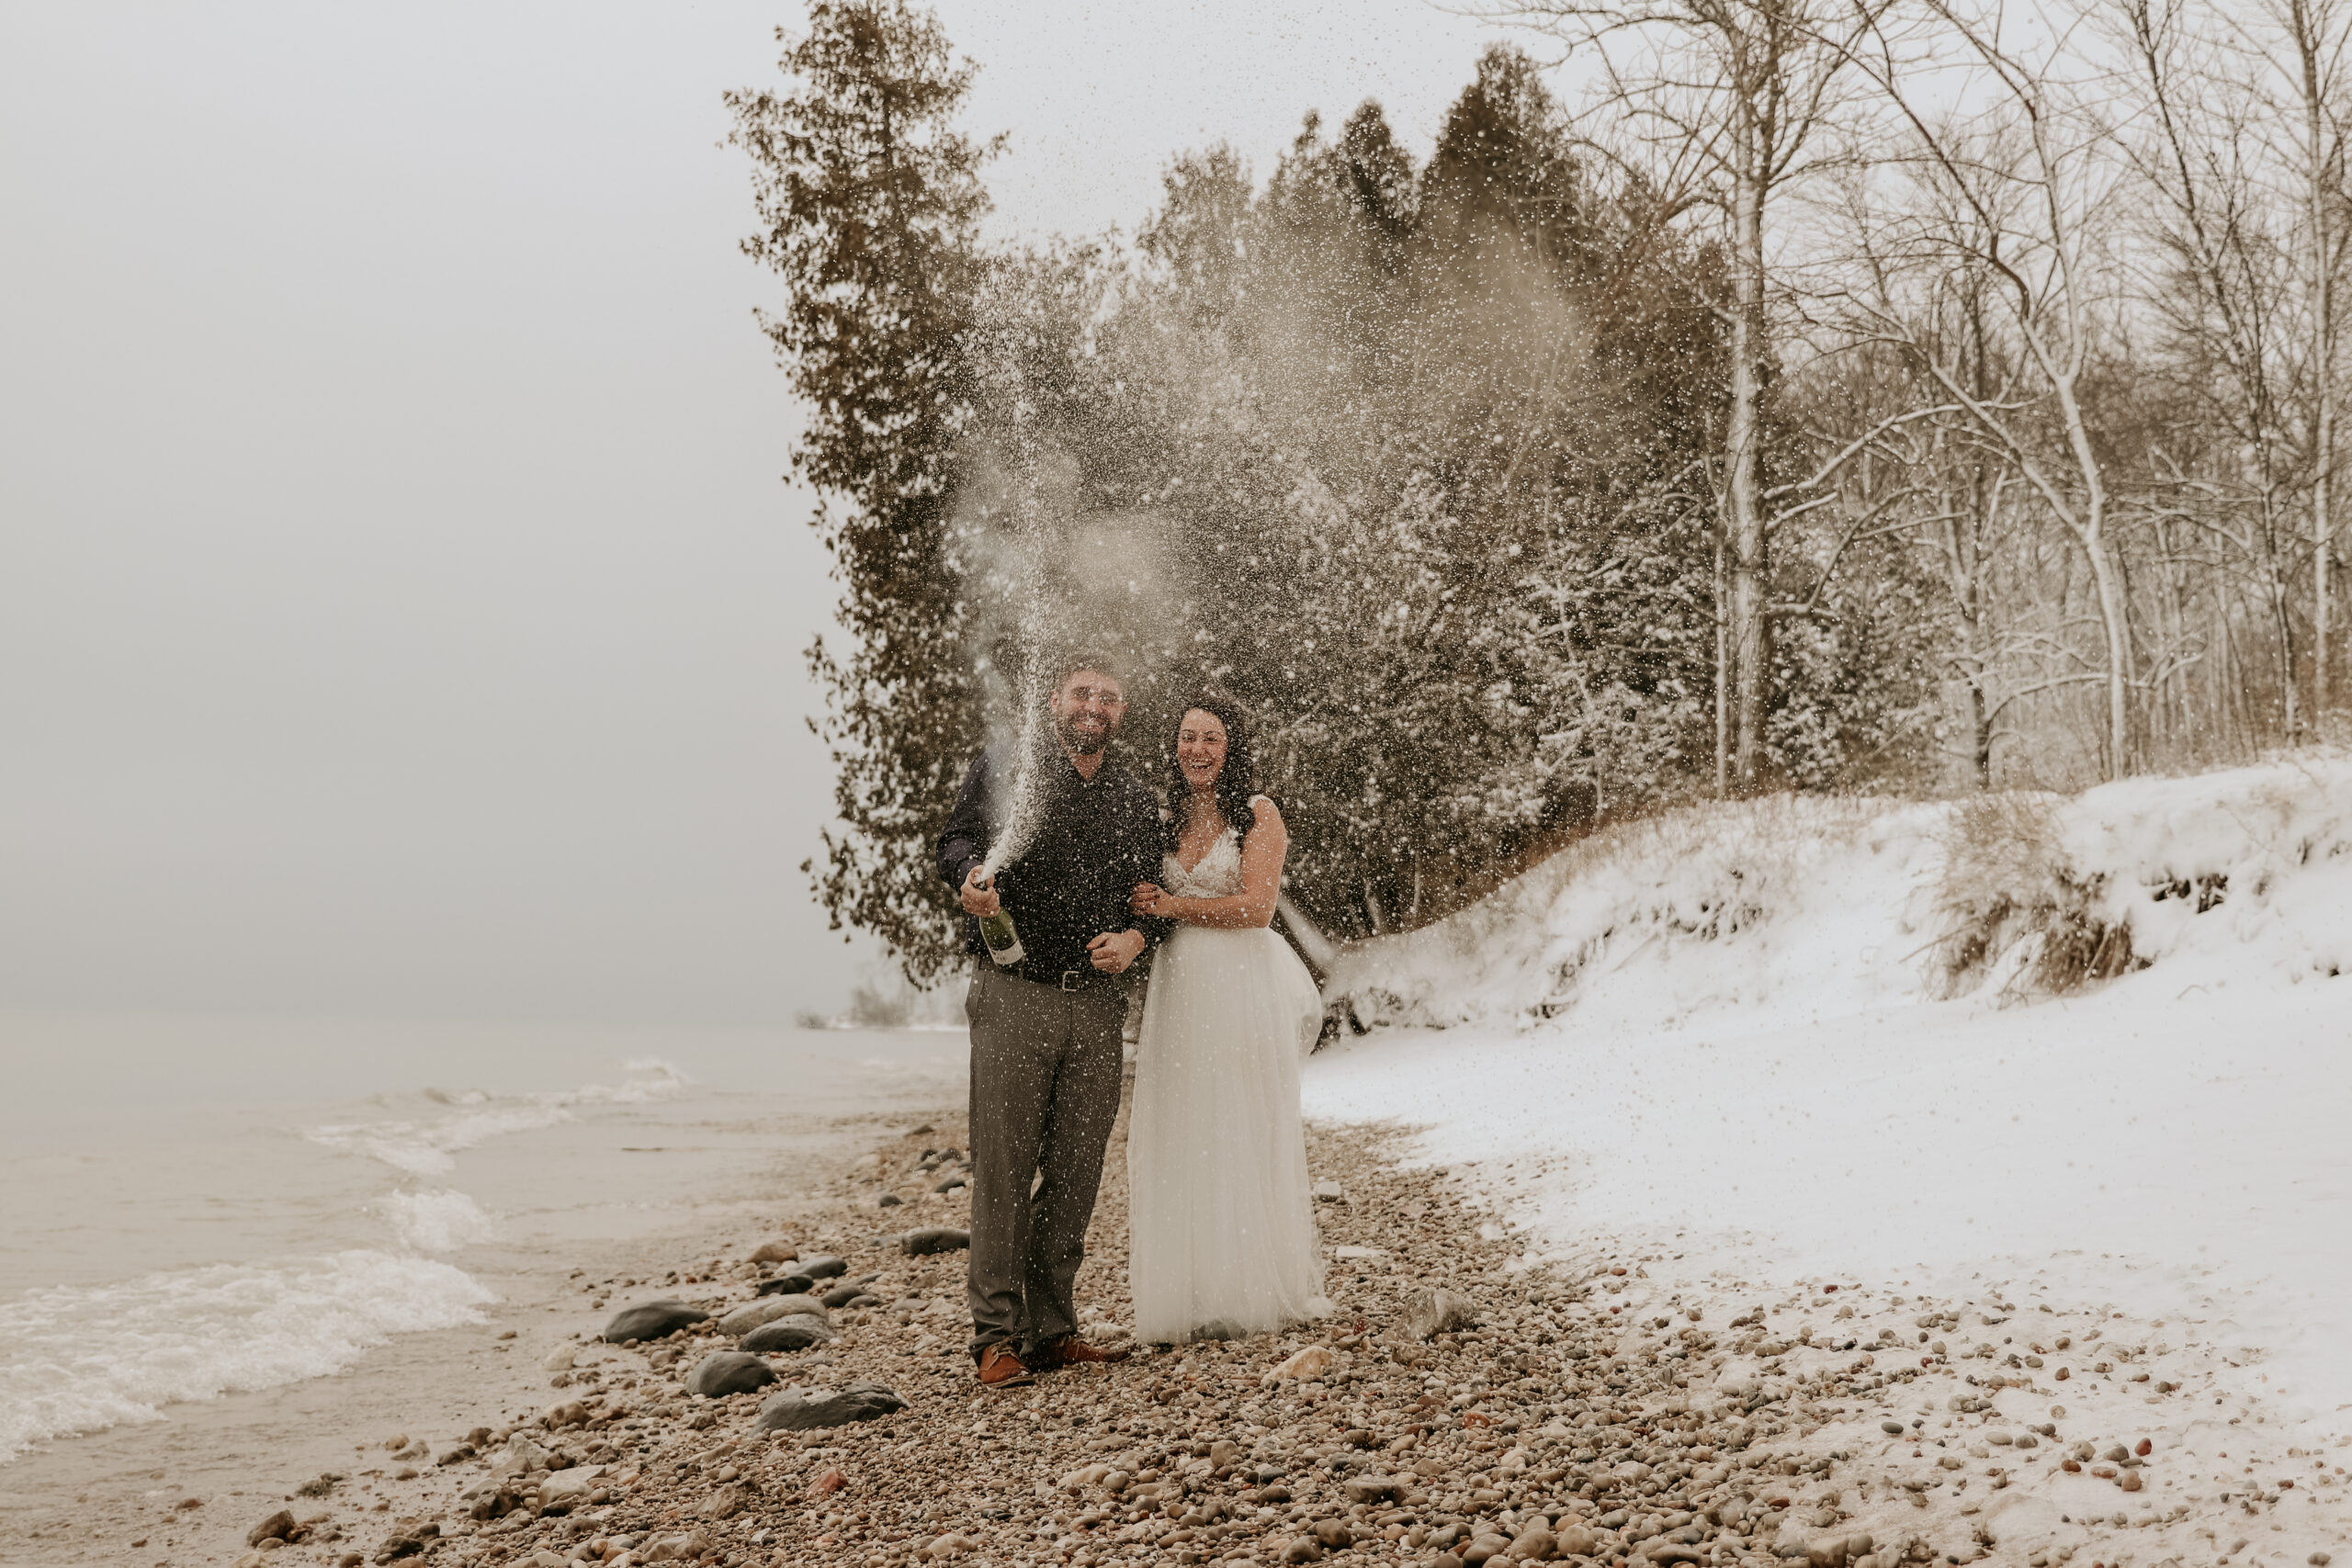
The barefoot summer mobile preset collection: