The Best Practices to Keep Your Photos Safe + Protected
When it comes to backing up photos, I believe that you can’t be too careful. Now, I know that might sound extreme, and when I first started doing all these steps, I thought the same thing. But when it comes to someone’s memories, there’s no price to put on them.
Most of the time, weddings are the first thing that pop into our heads in terms of backing up, which is absolutely important. A wedding day only happens once, and there is no way to duplicate the memories that you’ve captured on this day. But I think the same thing with every session I do. An engagement in the mountains, a family enjoying the beach, or a couple’s mini session all create memories that can’t be recreated.
Therefore, I take the following precautionary measures with every photoshoot, and every wedding, that I shoot.
01.
Using a camera with dual SD card slots, simultaneously record every RAW photos to two separate SD cards. If one card ends up being corrupt, you’ll always have a backup. It is important to use high-performance SD cards (I use SanDisk Extreme Pro SD Cards) for best results in recording your images. (This does require a camera with Dual Card Slots. The settings to record to both cards can typically be adjusted from your primary menu settings.)
02.
When the photoshoot is complete, backup all RAW files on two separate hard drives (I use LaCie 2TB Rugged Harddrives and Sandisk Extreme Portable SSD). Yes, this does take up a lot of space, but it’s so worth it when you’re talking about preserving someone’s memories! One will be your working hard drive, and the other will be stored in a safe place and used solely for backups. It is smart to keep these drives in different places to steer clear of any potential damage (hello moisture or God forbid a fire).
03.
While you are working on the edits, make sure to safely store the original SD cards with all of the RAW files until after the final gallery is delivered to the client. That way, in the worst case if everything else goes haywire, you have the original documents. I suggest organizing them by photoshoot, so that once the gallery delivery is confirmed, you can go back to using your SD cards.
04.
Finally, copy all of the edits to both of your hard drives in JPEG format. Store one more backup on a cloud software, and deliver the final gallery to your client. I keep ALL of the RAW files, all of the edits, and Lightroom Catalogs, so I update my hard drives yearly as they fill up.
In the beginning of doing all of these steps, it seemed like it might be a bit “extra”. But, now that it’s a part of my shooting routine, I can’t imagine doing anything else. The extra backups don’t take very long, and I’ve heard horror stories of photographers losing their clients’ photos. I never want to be in that position, so better safe than sorry! It’s important to keep your process professional so that your clients never have to worry about any mistakes.
Ready to level-up your photography business?
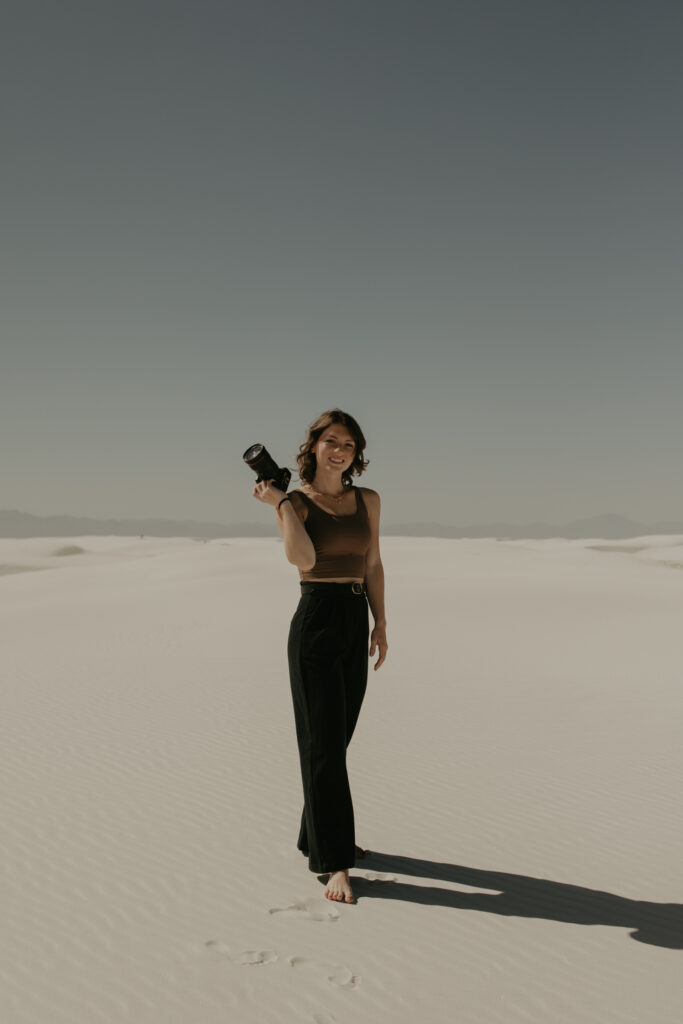
I’m McKenna, an elopement and adventure wedding photographer. I’ve been in the photography world for nearly a decade now, and made it into a business about halfway through that timeline. My photo business is now my full-time career, and I’d love to help you take your passion to the next level.
Check out the Photography + Creative Entrepreneur Mentorships that I offer below!