By now, you are aware that the old definition of “running away in secret” is no longer applicable to modern elopements. In today’s terms, eloping is all about creating an intimate and authentic wedding experience for you and your love. Deciding to elope means that you can create a wedding where your relationship is truly the focus of the day.
Elopements are a very special way to get married: a romantic adventure with your partner where you commit your lives to each other. If you think this non-traditional route might be for you, you may have reached the point of thinking “now how do I even begin to plan this?” Keep breathing– I’m happy to help!

I’M MCKENNA, AN ELOPEMENT AND ADVENTURE WEDDING PHOTOGRAPHER.
Not only do I tag along to document incredible elopements through photography, but I help guide you in planning process to create an elopement day that is as one-of-a-kind as your love story. In this post, I’ll give you step-by-step advice on how to design your own unique elopement experience.
The Steps to Your Dream Elopement:
01.
Dream Up Your Day
02.
the big decisions
03.
book your photographer
04.
lodging + Vendors
05.
the legalities
06.
creating your timeline
07.
the final details
08.
get married!

Step 1: Dreaming Up Your Day
After you’ve made the decision to elope, you might notice that there’s not really a rulebook to follow. Most weddings all follow the same timeline, just slightly tweaked. Venues have a direct “check-in/check-out” time that provides for a very narrow window of adjustment. However, with eloping, your limits are virtually nonexistent. That can be a little overwhelming, so the easiest way to dive in is to start broad.
Start dreaming up your favorite day. Imagine if you two could do anything you wanted to celebrate your relationship for a whole day, or even a few days! Take your time and start vague. What do you see, or what would you have the most fun doing? Do you love picnicking on the beach, hiking a trail in a sea of wildflowers, or enjoying the rush of adrenaline riding dirtbikes in the desert? The sky’s the limit, you can pick anything at all!
*Bonus tip: sit together and start this process with a date night. Taking the time together will get you both excited about planning, and give you a stronger idea of what you are looking for. Write your favorite ideas down so that as you plan more officially, you have a reference to go back to.


Step 2: Begin with the Big Decisions
With eloping, your big decisions are the following: Where, When, and Who
Where to elope
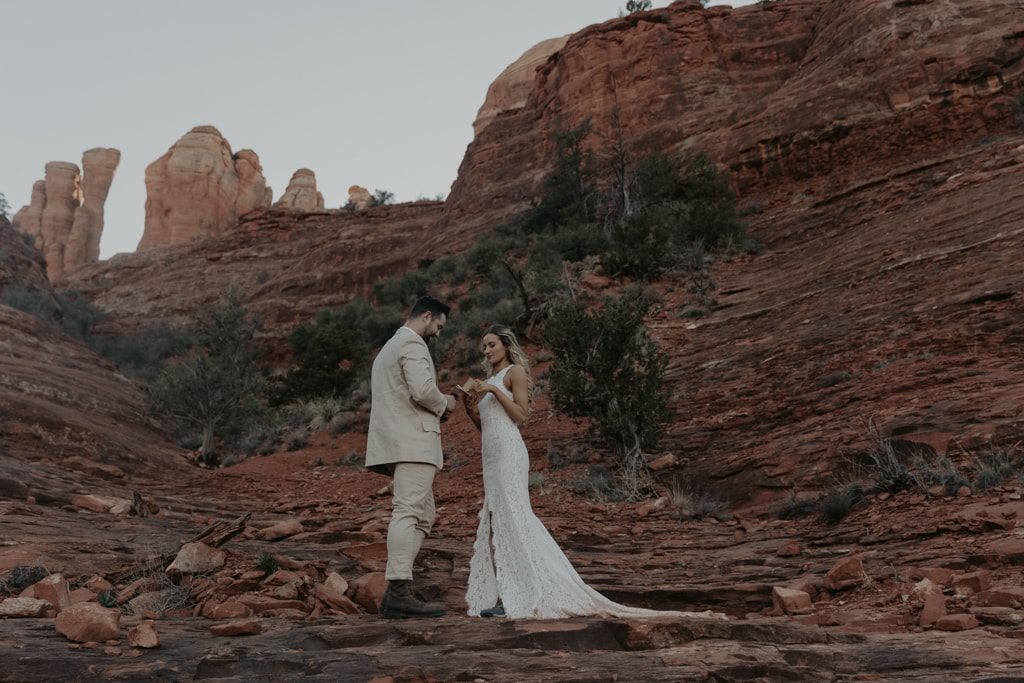
If you could say your vows anywhere, where would you be?
Now, if you don’t already have a place in mind, I know this is a big question. But this is where your initial brainstorming comes in. If you want to be oceanside, you’re going to nix eloping in the Midwest USA, right? So again, start broad. For a few ideas to get you thinking, check out My Favorite Destination Elopement Locations.
If you’ve already picked out a few activity options that you want to include, this can help direct you and narrow down your choices. Scenery, weather, and accessibility might all apply to your decision. The most important consideration to keep at the forefront of your mind is the experience. Make sure that as you narrow down your options, they align with the experience you two are imagining.
There are millions of beautiful places in this world, so if something isn’t right for you two, don’t be worried about finding “THE” spot. There is no pressure to travel too far, hike too much, or plan anything that doesn’t just feel right for you.
There is also no need to have your exact coordinates narrowed down right away. If you know you want to elope in a desert National Park, or with mountain views, or any other general ideas, that is a great start! Location suggestions, from broad parks to individual trail research are included in all of my packages to take some of this pressure off of you.
Still feeling too broad? I have an entire blog post dedicated to How to Choose Where to Elope that you can take a look at for more detail.
When to elope
Since we are always building off of the previous step, where and when will go hand-in-hand. Seasons can drastically change the appearance and experience of outdoor locations, where most elopements will take place.
For the majority of the United States, you are going to have a wildly different experience in January as you will in July. Dreaming of that sea of wildflowers? Peak wildflower season will range between late June to August. Maybe you want fall foliage, which has a very short peak season. When you close your eyes and envision your day, your surroundings will give you a guide to when is the right time for you.
Because of the smaller guest list, you are no longer limited to weekends so a hundred people can make it. In fact, there are multiple benefits to eloping on a weekday:
- Location Privacy. Public spaces are usually very busy on the weekends when everyone is off of work. For a little more privacy at your intimate wedding, a weekday (especially early to mid week) will make for a less-crowded space. This means less strangers watching your moments and less traffic around your location.
- Cheaper Travel. Weekday travel is often cheaper than the busy weekends. This could allow you to budget a few extra bucks for an elopement activity!
- Vendor availability. Weekdays are usually more available for wedding and elopement vendors since most people get married on weekends. If your dream vendor is booked on Saturday, they might still be open throughout the week.
Once again, not every couple has an exact date set in stone when they start planning their elopement. At least getting an estimate allows you to start narrowing down the other details as you get further into the planning process.
Who to bring to your elopement
This is an important one: who do you want to share this day with? This is an intimate and romantic day, so with a limited guest count, the people you invite along are a big decision.
Most couples decide on one of the following:
- Just the two of you with a photographer
- The two of you and two witnesses
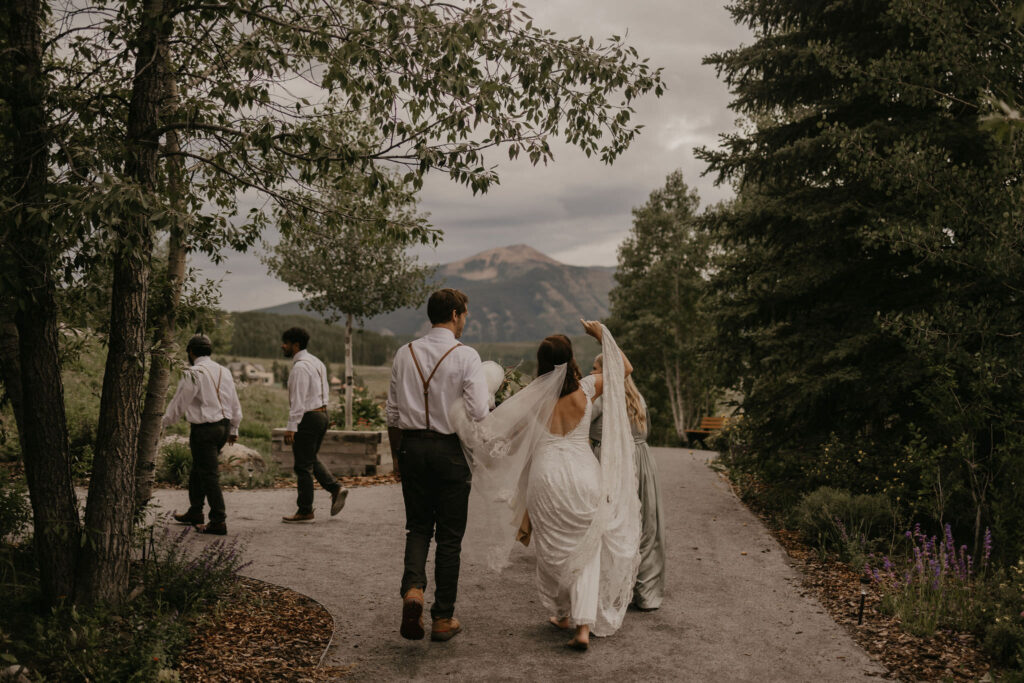
- The two of you and a few of your closest friends and family (10-20 people)
While you’re starting to think of this list, keep in mind that you want guests who will be just as excited as you are about your wedding day (or at least nearly as excited!) They should be fully supportive and on board for your elopement. Make sure that you aren’t worried about them trying to control your experience, shift the focus away from your relationship, or stress you out at all.
Accessibility and logistics are another aspect to consider when you’re creating the guest list. If you have decided to do a difficult activity or include a lot of travel, the fewer number of people the easier it is to coordinate.
*Bonus tip: some couples decide to do a two part celebration, and enjoy 1 day celebrating with family, and another with just the two of them and their photographer. Another option would be to plan a reception after your elopement to celebrate with a bigger group.
Step 3: Finding Your Photographer
Ideally, finding your photographer is the first concrete step you make in your planning process. In my own humble opinion, photography is the most important vendor you will be working with, and you want to make sure that you hire your dream photographer. Your elopement will only happen once, and your photos will be the only tangible documentation of your memories from this day. Plus, it will be how you share the day with friends and family who were not there with you.
As mentioned in the previous step, I also offer to help guide in the planning process, from location research, to timeline planning, and more. The earlier you book, the more time that I have to help you and take some of that stress away.


Step 4: Book Lodging, Travel, and Vendors
As you start planning out the details of your elopement, the biggest bookings are going to be your travel and lodging. Getting this taken care of will give you direction in coordinating details with guests, and more concrete ideas for determining the locations of your vows, activities, etc. Then, you can start to plan around the day using the travel distance from your hotel or Airbnb.
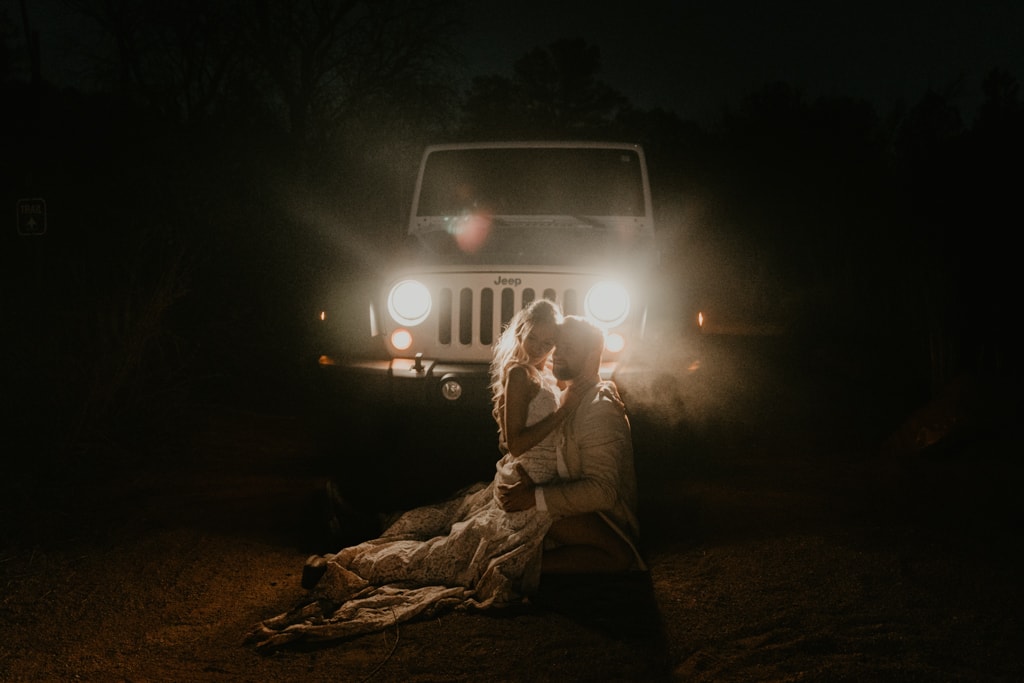
Other wedding vendors that are typically included in elopement days are: Hair & Makeup, Florists, Officiant, Videographer, Catering or Private Chefs, and Wedding Cakes. Some couples go for out-of-the-box vendors that are weaved into activities of their day, such as private Jeep tours, adventure guides, hot air balloons or tattoo artists. (Remember, every elopement is quite unique!)
At this point, you’ve nailed down a date and location, so booking the other vendors is more straightforward. This is where the details of your day really start to pull together!


Step 5: The Legalities
Remember that there are a few logistics you can’t forget about as you book the details.
First thing in legal terms is deciding whether or not you want to do the legal marriage certificate on your elopement day. Some couples choose to take care of the paperwork before or after their elopement celebration and solely focus on planning the celebration. That’s great! Going to your local courthouse can be an efficient and easy way to take care of the legal aspect if it’s not important to you to have this on the same day.
If you do decide to include the paperwork in part of your elopement, there is some coordination that will have to transpire. You will need to get a marriage license in the state where you will elope, as well as research the state laws for a legal ceremony. Some states (Washington DC, Colorado, Pennsylvania, Illinois and Wisconsin) allow self-solemnization, where you can apply to legally officiate your own marriage. In other states, an officiant and two witness signatures are required. Every state is different, so it is important to look into this ahead of time based on the location of your choice.
Local permits are also important to research before your wedding day. Every park, national or state, varies in permit requirements since they are government run and funded. Often, Special Use or Special Event Permits are required in parks to hold a wedding on site. They can be expected to range between $50-200 depending on the park.
I think we can agree that the paperwork is not the most exciting part of wedding planning, but it is important to know what’s required to make your day a reality. (And I am always here to help!)

Step 6: Creating Your Timeline
Timeline creation is included in all of my elopement packages. Chances are, you haven’t experienced quite as many wedding days as I have at this point, and I am able to help guide you in how long activities can really take and how to plan your day accordingly.
You want your elopement day to be as stress-free as possible, so always (always!) plan a bit of extra time on either end of your activities. Giving yourself a few spare minutes can relieve any unexpected interruptions in your day.
My Biggest Tips:
- Don’t forget to include travel times
- Work backwards from your main events or activities
- Sunset or sunrise makes for the best lighting for photos
- Add a cushion of extra time around each activity
- Be flexible, and allow for some spontaneity in your plans
Remember, the activities that fill up your wedding day will be the starting point on how to plan the timing. It will be completely customized to your own plans, so start by knowing your activities, and then the travel distances from your lodging.
Your elopement is your wedding day, and it should be special! Make sure that you plan enough time and space in your day to commit your lives to each other in a fun and relaxed way. I have another blog you can read dedicated completely to How to Plan an Elopement Timeline.


Step 7: The Final Details
Wrapping up the final details is the fun part– gathering meaningful jewelry, food and drinks, and attire. When you are shopping for your wedding attire, make sure that you can move in it! An elopement is usually quite an active day, and you don’t want to be uncomfortable in your clothes.
Start packing your things a day or two before you leave so that you have time to bring everything you want. Make sure that you coordinate with any guests attending, and everything is in order ahead of time for your best adventure yet.
Step 8: Get Married!!
Annnd it’s here! Your wedding day! You’ve collected everything you need, and it’s time to put your plan into action. Soak in every moment and enjoy your intentional, intimate wedding day. You deserve to celebrate your love in a way as extraordinary as your relationship.


The Final (Bonus) Step: Sharing and Re-Living Your Day
My custom-designed heirloom albums are the cherry on top after your elopement. These bespoke products ensure that your memories don’t get lost on a phone screen between screenshots and food pics. It is the perfect way to share your memories with your family and transport you right back to your elopement as you page through the album in the coming years.

and now you know
So there it is: a step-by-step guide on How to Elope. Now, it’s time to start planning out your own day!
Remember, the special thing about elopements is that there isn’t a rulebook to follow. You are creating your own experience, so the next steps should be at your own pace. I just threw a ton of information at you, but this is all about enjoying the process of getting married and making your wedding day the most “you”.
When you’re ready to get planning your dream elopement, send me a message and I’ll be looking forward to helping you!